 Save
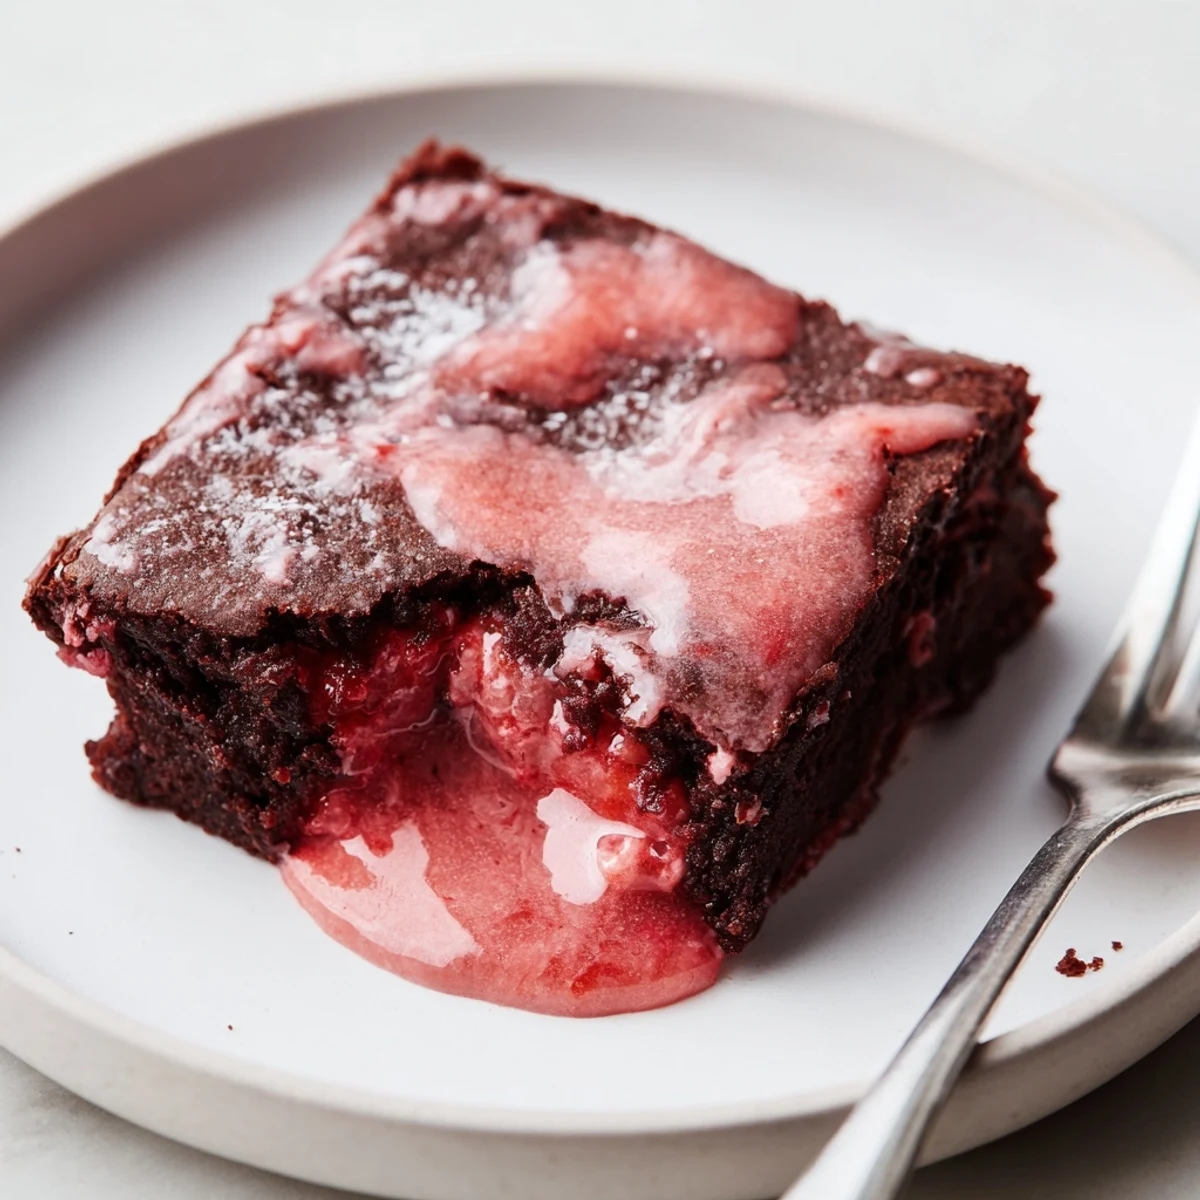
Save These fudgy strawberry brownies start with melted butter, sugar and vibrant strawberry puree, then fold in eggs, vanilla and just enough flour and baking powder for structure. Bake 22–25 minutes until edges set and the center yields a few moist crumbs. Cool fully before spreading a powdered sugar and strawberry glaze. Add freeze-dried strawberries or jam for extra punch; store airtight up to three days.
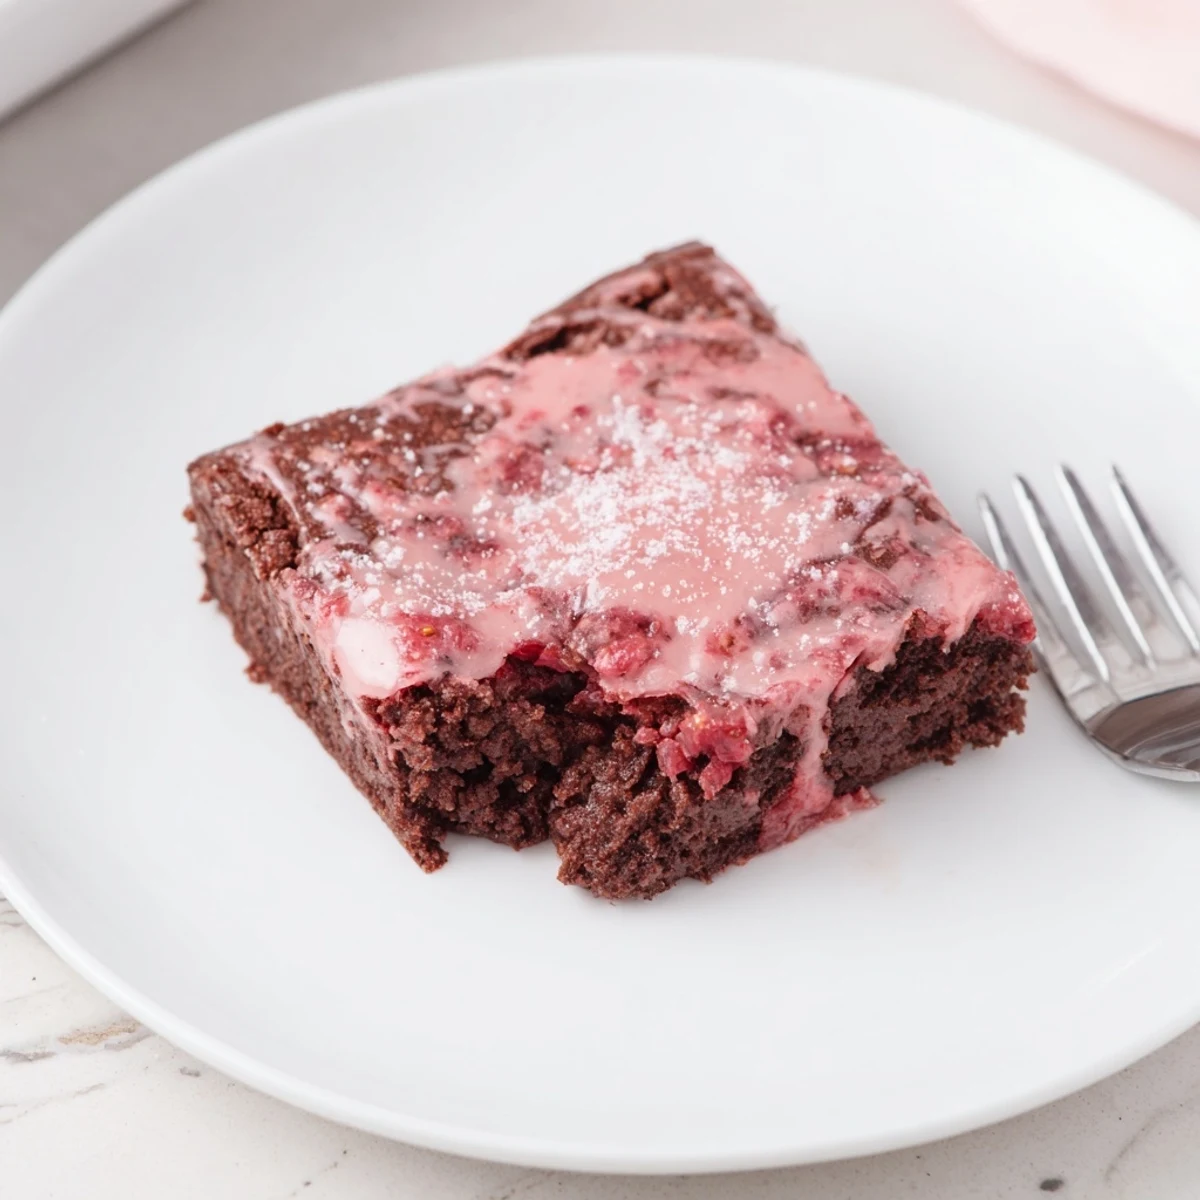
The first time I made these strawberry brownies, I had to resist the urge to peek in the oven every two minutes—the house filled up with a scent so tempting it felt almost mischievous. Unlike the usual richness of chocolate treats, bursts of strawberry sweetness give these brownies a personality all their own. The pale pink glaze always manages to catch the sunlight in my kitchen, like a little celebration on a plate. In spring, when strawberries are everywhere, this dessert has a way of demanding center stage.
One particularly sunny afternoon, I brought these to a neighborhood potluck, half sure no one had tried strawberry brownies before. Watching the glaze set while chatting with friends, I realized how much anticipation can quietly build up in a busy, bustling kitchen. By the time someone asked for the recipe after their first bite, I could tell it wasn't just me falling for this quirky dessert. Those pink-flecked squares disappeared faster than anything else on the table.
Ingredients
- Unsalted butter: Melting the butter first ensures a fudgy crumb; I use it straight from the microwave after just a minute to save time.
- Eggs: Room temperature eggs mix more evenly into the batter and ensure a softer brownie.
- Vanilla extract: Even a small splash balances the fruit and brings out the berry flavors.
- Strawberry puree: Whether from juicy farmers market berries or frozen ones, pureeing and straining it will deepen the crimson color and the aroma.
- Granulated sugar: I learned not to skimp—sugar gives just the right amount of chewiness and helps showcase the strawberry essence.
- All-purpose flour: Measure with care; too much flour makes brownies dry, so I always use the spoon-and-level method.
- Baking powder: This tiny spoonful breathes a bit of lift into each square, giving a soft, cakey edge.
- Salt: Just a pinch sharpens all the flavors and prevents the brownies from tasting flat.
- Powdered sugar: Gives the glaze its silky shine and smooth sweetness; sift for a lump-free finish.
- Lemon juice: (Optional) A squeeze adds a tangy note to the glaze that brightens the strawberry flavor.
Instructions
- Prep the pan:
- Set your oven to 350F and line an 8x8 pan with parchment so nothing sticks and cleanup is painless.
- Mix the wet ingredients:
- Combine the melted butter, sugar, and strawberry puree in a big bowl; the color turns delightfully rosy as you whisk.
- Add eggs and vanilla:
- Crack in the eggs, pour in vanilla, and whisk until the batter is thick, glossy, and smooth as satin.
- Mix the dry ingredients:
- Use a separate bowl to blend flour, baking powder, and salt; a gentle stir is all they need.
- Fold wet and dry together:
- Pour dry into wet and gently fold, stopping as soon as there are no visible streaks—it keeps the brownies tender.
- Bake:
- Pour batter into your prepared pan, smooth the top, and slide it in for about 23 minutes until the edges are set and a toothpick comes out with a few moist crumbs.
- Cool completely:
- Patience here pays off—wait for the pan to fully cool before adding the glaze, or you'll get a runny mess.
- Make the glaze:
- Blend powdered sugar, strawberry puree, and lemon juice until pourable, smelling of fresh berries.
- Glaze and cut:
- Pour the glaze over your cooled brownies, let it set for 15 minutes, then lift out and slice into 16 squares—it’s the hardest part not to sneak a bite.
 Save
Save There was a quiet moment one evening as rain tapped against the kitchen window, when I plated these brownies for dessert after a simple pizza dinner. Each bite felt like a bright spot on a grey day, and the messy streaks of glaze on tiny plates made me smile long after the brownies were gone.
How to Get the Strawberry Flavor Just Right
Through a bit of trial and error, I found that using ripe berries—almost overripe—makes the most vivid strawberry flavor. If you’re working with less-than-perfect fruit, a spoonful of strawberry jam folded into the puree can be your best trick to boost the taste.
Making Neat Squares Every Time
Chilling the pan in the fridge for 20 minutes after glazing makes slicing so much easier. Use a sharp knife wiped clean after each cut for neat, bakery-style squares.
Fun Finishes & Custom Touches
Crush freeze-dried strawberries and sprinkle them over the glaze if you want a pop of color and crunch—it's a little extra but always worth it.
- Sub in half jam, half puree for a deeper strawberry hue.
- Try adding a handful of white chocolate chips for a sweet twist.
- Don’t be afraid to play with citrus zest in the glaze for a fragrant lift.
 Save
Save Sharing these strawberry brownies turns any gathering into a small celebration. Here's hoping they vanish from your table just as quickly as they always seem to at mine.
Recipe FAQs
- → How can I tell when the bars are done baking?
-
Bake 22–25 minutes; edges should feel set and a toothpick inserted in the center should come out with a few moist crumbs. Avoid a completely dry toothpick to keep a fudgy center.
- → Can I use frozen strawberries for the puree?
-
Yes. Thaw first, then puree and strain to remove excess water for a concentrated flavor. Pressing through a fine sieve helps prevent a runny batter.
- → What makes them fudgy instead of cakey?
-
A higher fat-to-flour ratio and minimal mixing preserve density. Melted butter, limited flour and not over-beating the batter keep a rich, moist crumb.
- → Any tips for a stronger strawberry flavor?
-
Fold in chopped freeze-dried strawberries, or substitute half the puree with a thick jam to intensify fruit notes without thinning the batter.
- → How should I store or freeze the bars?
-
Store in an airtight container at room temperature up to three days. To freeze, cut into squares and wrap tightly; freeze up to one month. Thaw at room temperature before glazing or serving.
- → Can I make a gluten-free version?
-
Use a 1:1 gluten-free flour blend and check texture after folding; you may need a touch less flour or a brief extra resting time to hydrate the blend.