 Save
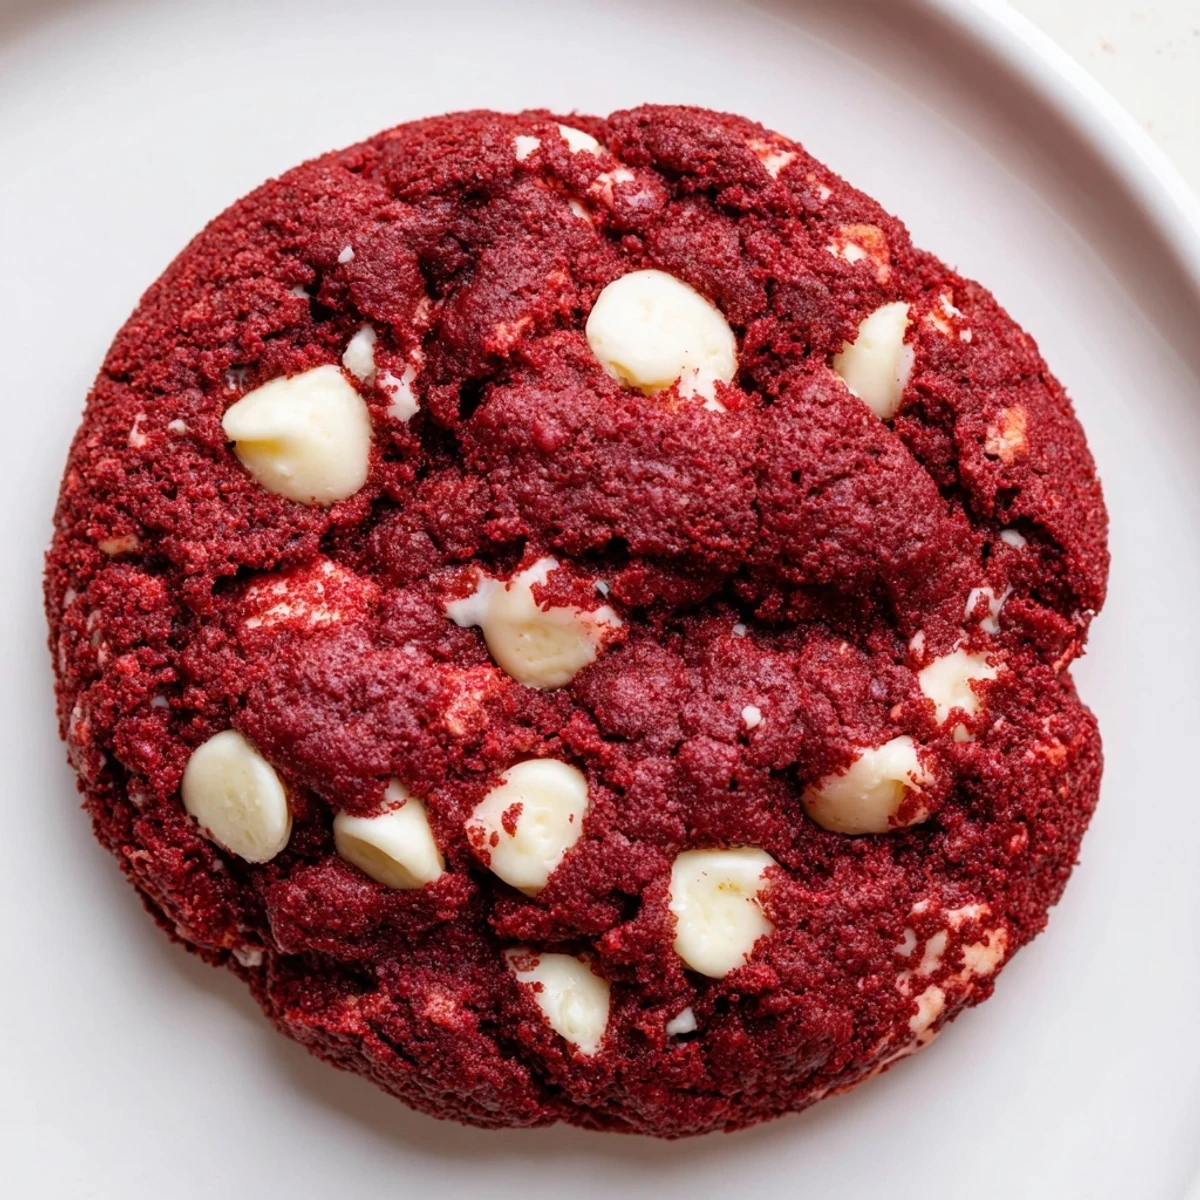
Save These soft red velvet cookies combine the classic cake's beloved flavors into an irresistible handheld treat. The dough features a hint of cocoa powder and that characteristic tangy sweetness from white vinegar, creating the signature red velvet taste profile. Creamy white chocolate chips complement the rich, velvety crumb perfectly. Each cookie bakes in just 12 minutes, resulting in edges that are slightly set while centers remain wonderfully soft and chewy.
The preparation comes together quickly with pantry staples. The vibrant red color makes these treats eye-catching for holidays, Valentine's Day, or any special occasion. Since the dough requires no chilling time, you can have fresh-baked cookies on the table in under half an hour. Store them in an airtight container for up to five days, though they rarely last that long!
The first time I made these cookies, my kitchen looked like a crime scene. Red food coloring everywhere, flour dusted across every surface, and me frantically trying to hide the evidence before my roommate came home. But when those ruby-red cookies came out of the oven, studded with creamy white chocolate, all the mess was absolutely worth it.
I brought a batch to a potluck last winter and watched them disappear in under ten minutes. Someone actually asked if I'd bought them from a bakery, which I'll take as the highest compliment possible. Now they're my go-to when I need something that looks impressive but comes together with minimal effort.
Ingredients
- All purpose flour: The foundation that gives these cookies their structure and chewy texture
- Unsweetened cocoa powder: Just enough to deepen the flavor without overpowering the classic red velvet taste
- Baking soda: Helps the cookies spread and rise to that perfect thick, soft texture
- Salt: Essential for balancing the sweetness and enhancing the cocoa flavor
- Unsalted butter: Provides rich flavor while the oil ensures softness
- Vegetable oil: The secret to keeping these cookies tender and soft for days
- Granulated and brown sugar: The combination creates crisp edges and a chewy center
- Eggs: Bind everything together and add structure
- Vanilla extract: Rounds out the flavors and adds warmth
- Red food coloring: Gives that iconic red velvet color, gel coloring works best for vibrant results
- White vinegar: The crucial ingredient that provides red velvet's signature tang
- White chocolate chips: Creamy, sweet pockets that complement the slightly tangy cookie base
Instructions
- Preheat and prepare:
- Set your oven to 350°F and line baking sheets with parchment paper so nothing sticks
- Whisk the dry ingredients:
- Combine flour, cocoa powder, baking soda, and salt in a medium bowl
- Cream the fats and sugars:
- Beat butter, oil, and both sugars until light and fluffy, about 2 minutes
- Add the wet ingredients:
- Mix in eggs one at a time, then vanilla, food coloring, and vinegar until fully incorporated
- Combine everything:
- Gradually fold in the dry ingredients just until no flour streaks remain
- Fold in the white chocolate:
- Gently stir in the white chocolate chips until evenly distributed
- Scoop and space:
- Drop about 2 tablespoons of dough per cookie, leaving 2 inches between each
- Bake to perfection:
- Bake for 11 to 13 minutes until edges are set but centers still look slightly soft
- Cool completely:
- Let them rest on the baking sheet for 5 minutes, then move to a wire rack
 Save
Save My sister now requests these for every birthday instead of cake. There is something about that red and white combination that feels festive no matter the occasion, and the flavor is unmistakably nostalgic yet somehow new.
Getting That Vibrant Red Color
Gel food coloring will give you the most intense red hue with less liquid than traditional food coloring. I have learned to add it gradually and remember that the color will deepen slightly during baking. If you prefer a more natural look, a soft pink hue is equally beautiful.
Storage Secrets
These cookies stay remarkably soft thanks to the oil in the dough. Store them in an airtight container at room temperature for up to five days. For longer storage, freeze the baked cookies or even scoop and freeze raw dough to bake fresh whenever the craving strikes.
Customizing Your Cookies
While white chocolate is classic, there are so many ways to make this recipe your own. The base cookie dough is incredibly forgiving and adaptable.
- Try dark chocolate chips for a more sophisticated, less sweet version
- Add cream cheese chunks for a tangy surprise in every bite
- Roll the dough balls in powdered sugar before baking for a festive cracked look
 Save
Save Every time I pull a fresh batch from the oven, I am reminded that the best recipes are the ones shared with people you love. Happy baking.
Recipe FAQs
- → Why is vinegar added to red velvet cookies?
-
White vinegar provides the characteristic tangy flavor that defines red velvet treats. The acidity also reacts with baking soda to help the cookies rise and develop a tender, velvety texture.
- → Can I use liquid food coloring instead of gel?
-
Yes, both liquid and gel food coloring work well. Gel coloring tends to produce more vibrant hues with less liquid, which can slightly affect dough consistency. Add liquid coloring gradually to maintain proper dough texture.
- → Why do these cookies use both butter and oil?
-
The combination creates the perfect texture—butter adds rich flavor while oil keeps cookies soft and chewy for days. This duo prevents the treats from becoming hard or crumbly too quickly.
- → How should I store these cookies?
-
Keep completely cooled cookies in an airtight container at room temperature for up to 5 days. Place parchment paper between layers to prevent sticking. For longer storage, freeze individually wrapped treats for up to 3 months.
- → What makes red velvet different from chocolate cookies?
-
Red velvet features a milder cocoa flavor compared to traditional chocolate cookies. The addition of vinegar and buttermilk-style ingredients creates a distinctive tangy taste and softer, finer crumb texture.
- → Can I reduce the food coloring amount?
-
Absolutely—the coloring is purely aesthetic. Using less will result in a deeper burgundy or brownish-red hue. The flavor remains exactly the same regardless of color intensity.