 Save
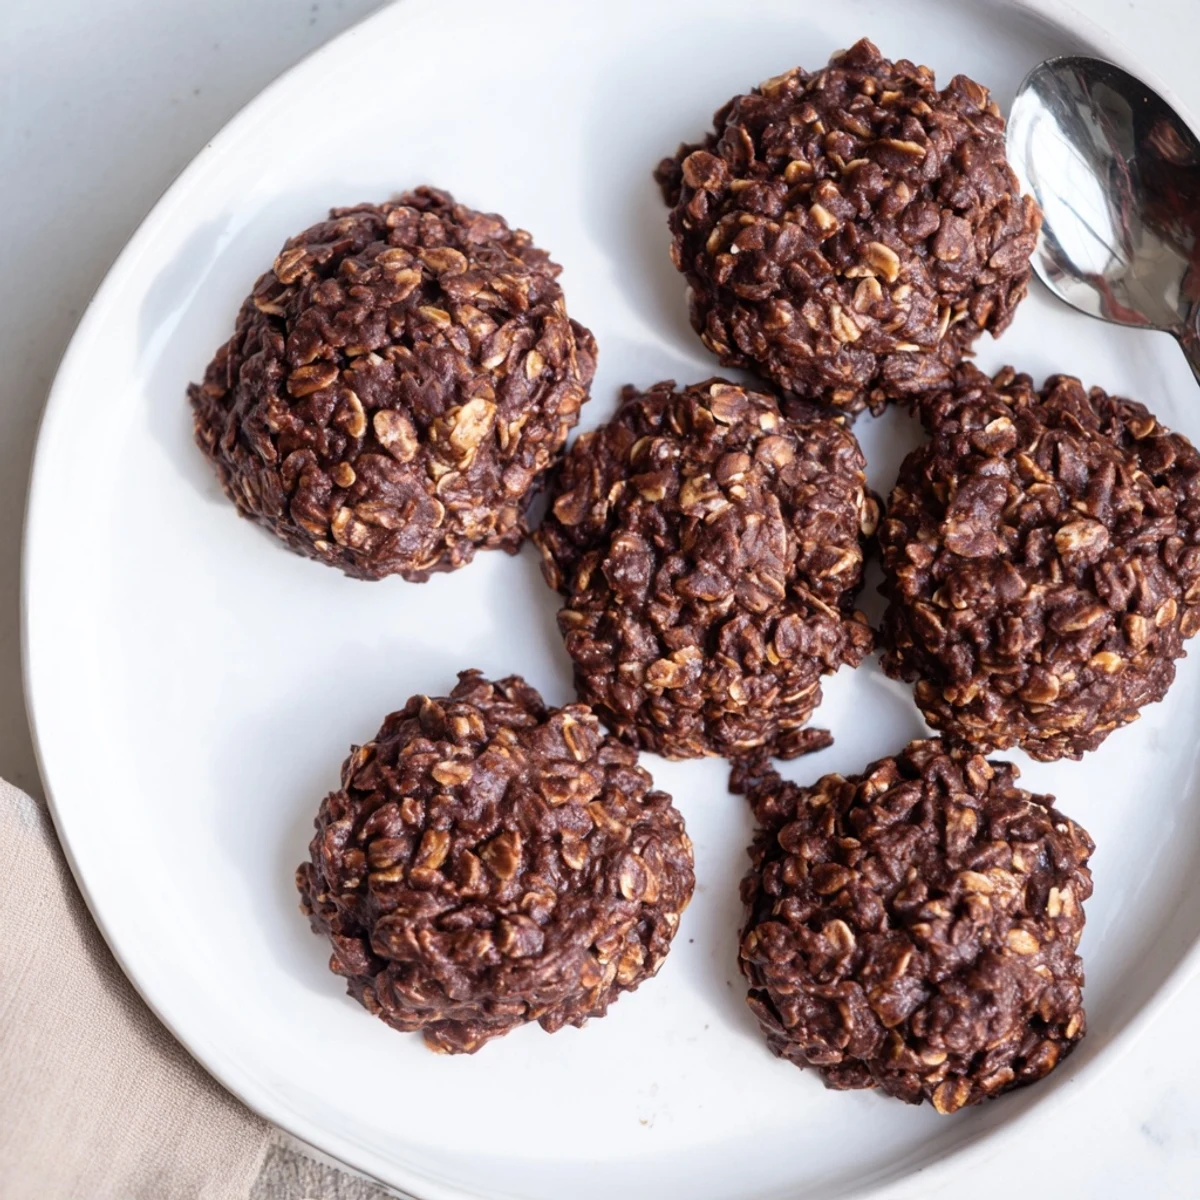
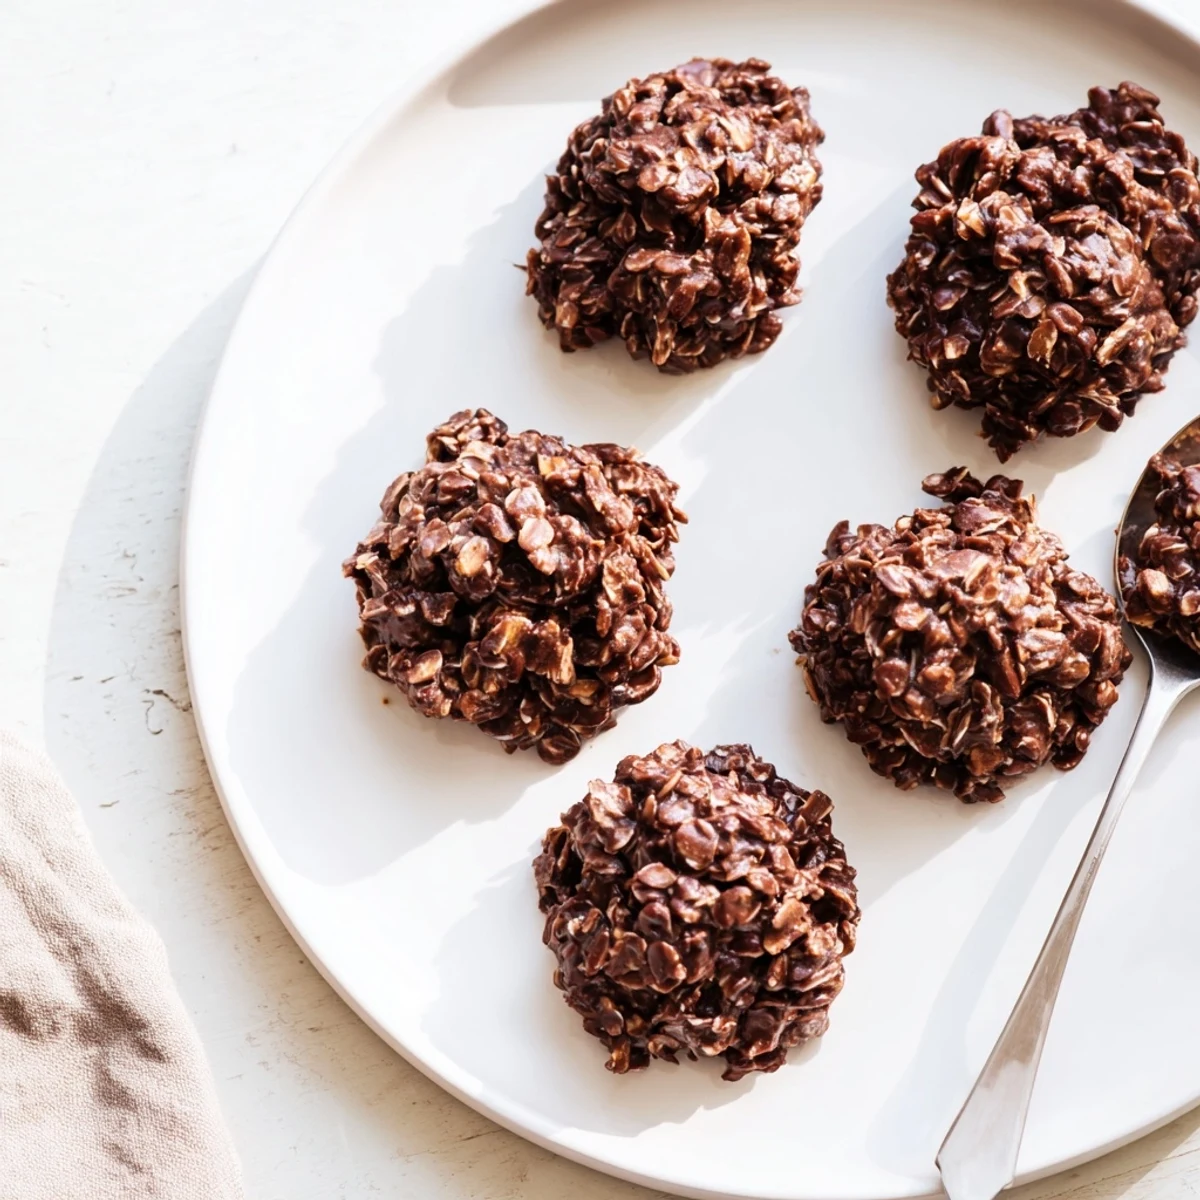
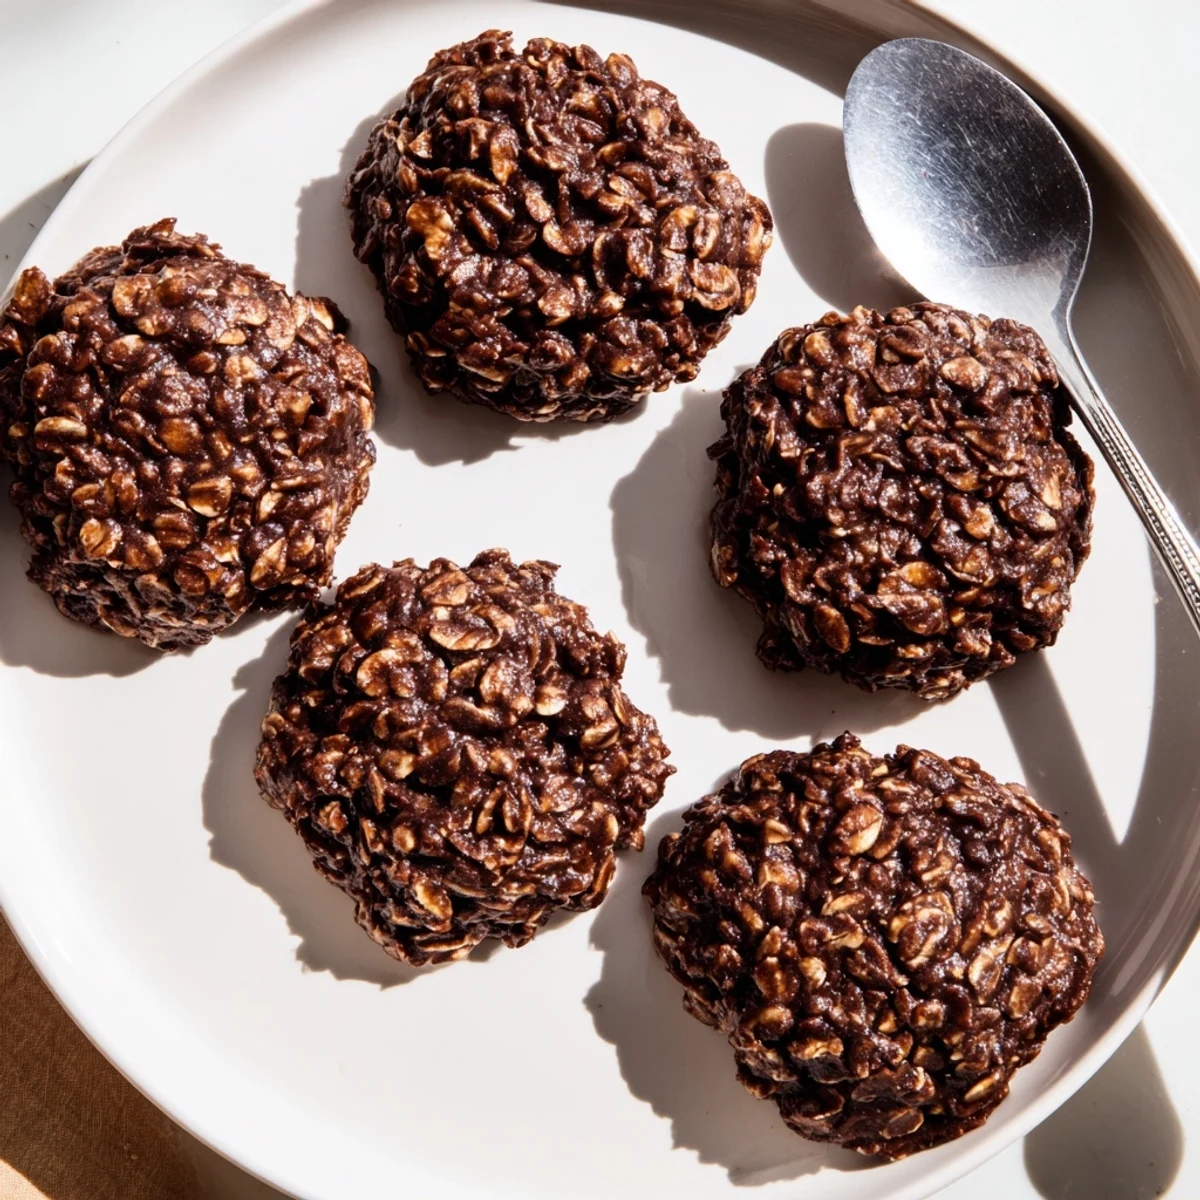
Save These chocolate oatmeal no bake cookies come together in just 30 minutes using a single saucepan. Butter, sugar, milk, and cocoa are boiled together, then combined with peanut butter, vanilla, and quick-cooking oats.
Scooped onto parchment paper, they set at room temperature without ever turning on the oven. The result is a rich, chewy cookie with a fudgy chocolate peanut butter flavor and hearty oat texture.
Perfect for hot summer days, quick desserts, or when you need a sweet fix without the effort of traditional baking. Makes 24 cookies that store well for up to a week.
The rain was hammering against the kitchen window and my youngest was pacing the house like a tiny restless animal when I threw together the first batch of these no bake cookies on a whim. Ten minutes later she was sitting cross legged on the floor with chocolate smeared across both cheeks grinning like she had won something. These cookies have been our rainy day emergency ritual ever since and honestly I have never once bothered to look for a fancier dessert since.
My neighbor Karen stopped by unannounced one afternoon and caught me mid batch with a wooden spoon in one hand and parchment paper trailing from the other. She watched me drop the last spoonful onto the sheet and declared with absolute certainty that they would never set properly at room temperature. Twenty minutes later she ate four of them standing at my counter and never mentioned setting again.
Ingredients
- Unsalted butter (1/2 cup): The fat base that gives these cookies their rich tender crumb and keeps them from turning into hockey pucks.
- Granulated sugar (2 cups): It seems like a lot but this sugar is doing double duty as sweetener and structure builder once the syrup sets.
- Whole milk (1/2 cup): Whole milk matters here because the fat content helps the sugar syrup come together smoothly without separating.
- Unsweetened cocoa powder (1/4 cup): Use a good quality one because the chocolate flavor has nowhere to hide in such a simple recipe.
- Pure vanilla extract (1 tsp): A small amount that quietly rounds out the cocoa and makes the whole thing taste more dimensional.
- Creamy peanut butter (1/2 cup): This adds body and a subtle savory note that balances all that sweetness perfectly.
- Quick cooking oats (3 cups): Quick oats absorb the syrup better than old fashioned ones and give you that ideal chewy but not tough texture.
- Salt (pinch): Never skip this because salt is what makes chocolate taste like chocolate instead of just sweet brown sludge.
Instructions
- Prepare your workspace:
- Tear off sheets of parchment paper and lay them flat on your counters or baking sheets before you even turn on the stove because things move fast once the syrup is ready.
- Build the chocolate syrup:
- Set a medium saucepan over medium heat and dump in the butter, sugar, milk, and cocoa powder, stirring often as the butter melts and everything blends into a glossy dark liquid.
- Boil with purpose:
- Let the mixture come to a full rolling boil and hold it there for exactly one minute while stirring constantly so nothing scorches on the bottom of the pan.
- Stir in the good stuff:
- Slide the pan off the heat and immediately add the peanut butter, vanilla, and salt, stirring until the mixture turns silky smooth and smells absolutely incredible.
- Fold in the oats:
- Pour in all three cups of oats at once and stir thoroughly until every single flake is coated in that dark chocolatey syrup with no dry pockets hiding underneath.
- Scoop and shape:
- Use a tablespoon or small cookie scoop to drop mounds onto the parchment, nudging them into rough rounds if you like a neater look but honestly rustic is part of the charm.
- Let them set:
- Walk away for fifteen to twenty minutes at room temperature or slide them into the fridge if you are short on patience and want them firm and ready faster.
 Save
Save The day my daughter asked if we could make these for her school bake sale instead of cupcakes I knew this scrappy little recipe had earned its place in the family permanently.
Storing Your Cookies
Keep them in a single layer or stacked with parchment between layers inside an airtight container and they stay perfectly chewy for up to a week on the counter. In warmer weather or if your kitchen runs hot the fridge is safer because the butter can soften and make them sticky.
Making Them Your Own
A handful of shredded coconut folded in at the end with the oats adds a chewy tropical note that works surprisingly well with the chocolate peanut butter base. Chopped pecans or walnuts give a pleasant crunch if you want something with a bit more texture to bite into. You can even swap the peanut butter for sunflower seed butter and they turn out beautifully for anyone dealing with nut allergies.
Tools That Make It Easier
You really only need a decent saucepan and a sturdy wooden spoon but a cookie scoop saves you from sticky fingers and makes every cookie roughly the same size. Parchment paper is non negotiable unless you enjoy chiseling hardened chocolate off your baking sheets. A silicone spatula helps scrape every last bit of that chocolate oat mixture out of the pan because wasting even a spoonful feels criminal.
- Test your boil time with a timer the first few times until your eye learns what a proper rolling boil looks like.
- If the mixture seems too wet when you are scooping just let it sit for two minutes and it thickens up fast.
- Always taste a tiny spoonful before adding the oats so you can adjust salt if needed.
 Save
Save Some recipes earn their spot through elegance and complexity but these cookies won us over with sheer speed and joy. Keep the ingredients stocked and you are never more than half an hour away from happiness.
Recipe FAQs
- → Why did my no bake cookies turn out too gooey and not set?
-
This usually happens when the sugar mixture doesn't boil long enough. Make sure to bring it to a full rolling boil and maintain it for exactly one minute while stirring constantly. Timing is crucial—too short means soft cookies, too long means dry and crumbly ones.
- → Can I use old-fashioned oats instead of quick-cooking oats?
-
Quick-cooking oats are recommended because they absorb moisture better and create the right texture. Old-fashioned oats can work but will result in a chewier, chunkier cookie. If using them, consider pulsing them briefly in a food processor first for a similar consistency.
- → How should I store these cookies to keep them fresh?
-
Store the cooled cookies in an airtight container at room temperature for up to one week. You can also refrigerate them, which extends freshness and keeps them firmer. Layer parchment paper between stacks to prevent sticking.
- → What can I substitute for peanut butter to make them nut-free?
-
Sunflower seed butter is the best nut-free alternative and works almost identically. Soy butter or tahini can also work, though they may slightly alter the flavor. Make sure whatever substitute you use has a similar creamy consistency.
- → Can I freeze chocolate oatmeal no bake cookies?
-
Yes, they freeze excellently for up to three months. Place them in a single layer on a baking sheet to freeze initially, then transfer to a freezer-safe bag or container. Thaw at room temperature for about 15 minutes before eating.
- → Why do my cookies have a grainy sugar texture?
-
Graininess occurs when the sugar doesn't fully dissolve during boiling. Ensure you stir constantly while the mixture heats and maintain that full rolling boil for the entire minute. Using medium heat and being patient during the initial heating phase helps the sugar dissolve completely.