Save
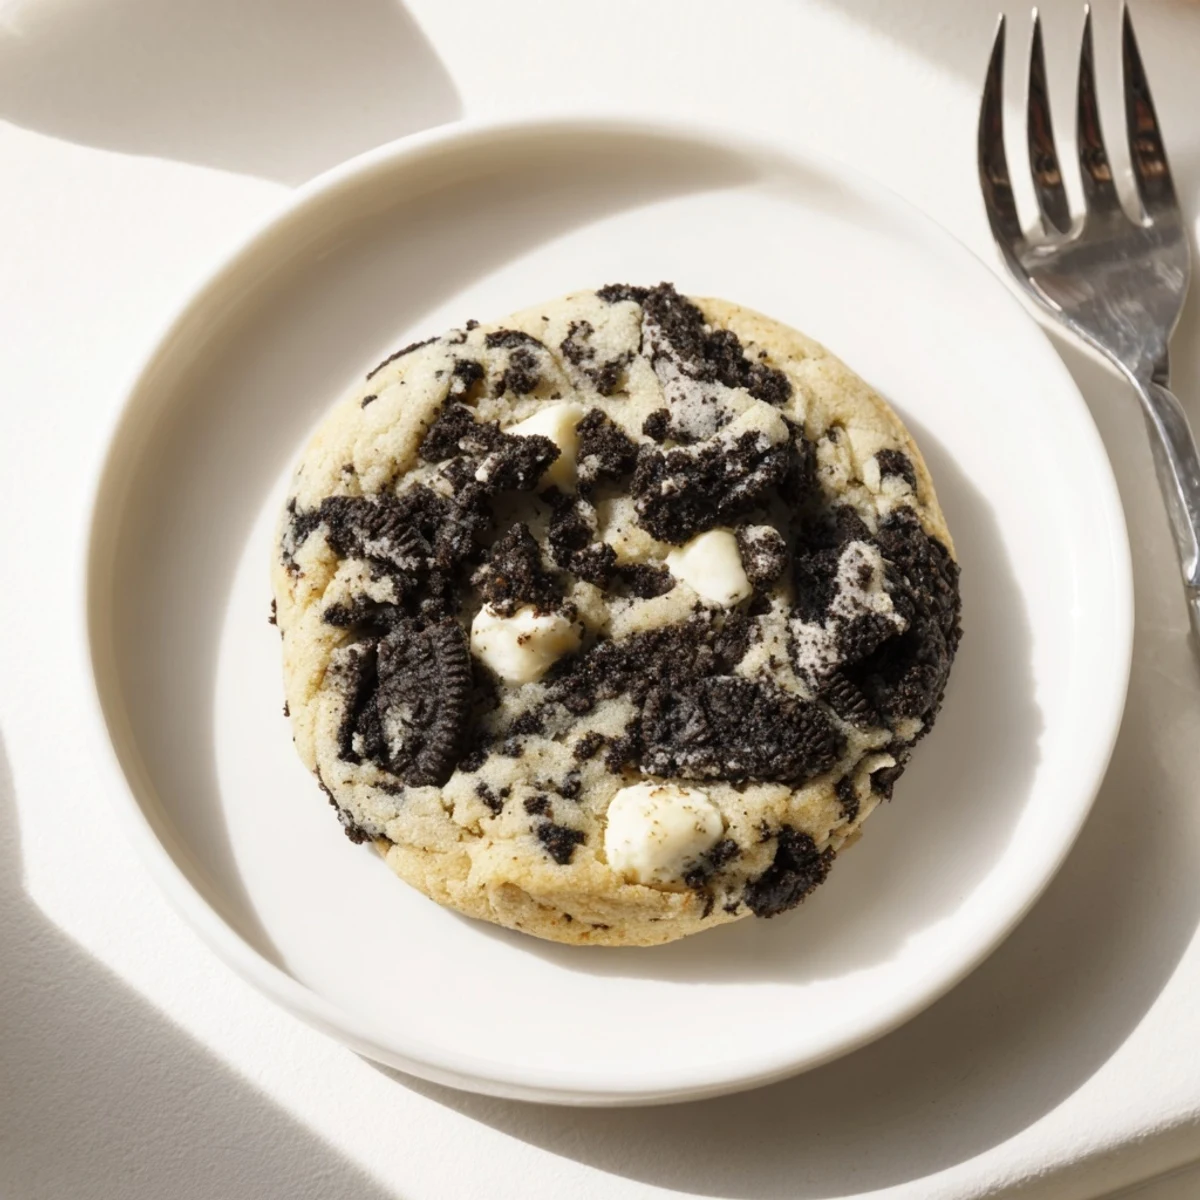
Save These soft, chewy cookies feature crushed chocolate sandwich cookies and creamy white chocolate chips throughout every bite. The dough comes together quickly with basic pantry staples, then gets loaded with chopped chocolate cookies for that classic cookies 'n cream flavor everyone loves. Bake for just 10-12 minutes until edges turn golden brown while centers stay perfectly tender.
My college roommate Sarah introduced me to these cookies during finals week, and they became our stress relief tradition. She would bake them at midnight, and the whole dorm would follow the smell to our tiny kitchen. We ate so many warm cookies that week while studying. Now I make them whenever I need that comfort.
Last Christmas, my niece declared these the only cookie she wants Santa to leave this year. She helped me smash the sandwich cookies and somehow half the crushed pieces ended up in her mouth. The ones we actually baked were gone before the holiday party even started. I have been asked to quadruple the recipe for next year.
Ingredients
- 2 cups all purpose flour: The foundation that holds everything together, do not pack it down when measuring
- 1/2 teaspoon baking soda: Gives the cookies just enough lift without making them cakey
- 1/2 teaspoon salt: Essential for balancing all that sweetness and making the chocolate flavor pop
- 3/4 cup unsalted butter softened: Room temperature butter creams perfectly with sugar for that chewy texture we love
- 1/2 cup granulated sugar: Creates crisp edges while keeping centers tender
- 1/2 cup packed brown sugar: The secret to moisture and that gorgeous golden color
- 1 large egg: Binds everything together and adds structure
- 2 teaspoons vanilla extract: Do not be tempted to reduce this, it makes the cookie flavor sing
- 14 chocolate sandwich cookies coarsely chopped: Use your favorite brand, or mix sizes for extra texture
- 1 cup white chocolate chips: Creamy contrast to the dark cookie pieces and adds pockets of sweetness
Instructions
- Preheat your oven:
- Set it to 350°F and line your baking sheets with parchment paper so nothing sticks
- Whisk the dry team:
- Combine flour, baking soda, and salt in a medium bowl, then set it aside
- Cream the butter and sugars:
- Beat softened butter with both sugars until the mixture looks pale and fluffy, about 2 minutes
- Add the wet ingredients:
- Beat in the egg and vanilla until everything is fully combined
- Bring it all together:
- Gradually mix in the dry ingredients just until you no longer see white streaks
- Add the good stuff:
- Gently fold in the chopped sandwich cookies and white chocolate chips by hand
- Scoop and space:
- Drop tablespoon sized dough balls onto your prepared sheets, leaving about 2 inches between each
- Bake to perfection:
- Bake for 10 to 12 minutes until edges are golden but centers still look slightly soft
- Patience pays off:
- Let them cool on the baking sheets for 5 minutes before moving them to a wire rack
 Save
Save My neighbor texted me the other day asking for the recipe after her teenage son refused any other store bought cookie. She said he took a batch to school and came home with requests from three different families. Apparently these cookies have started a small baking revolution on our street.
Making Them Your Own
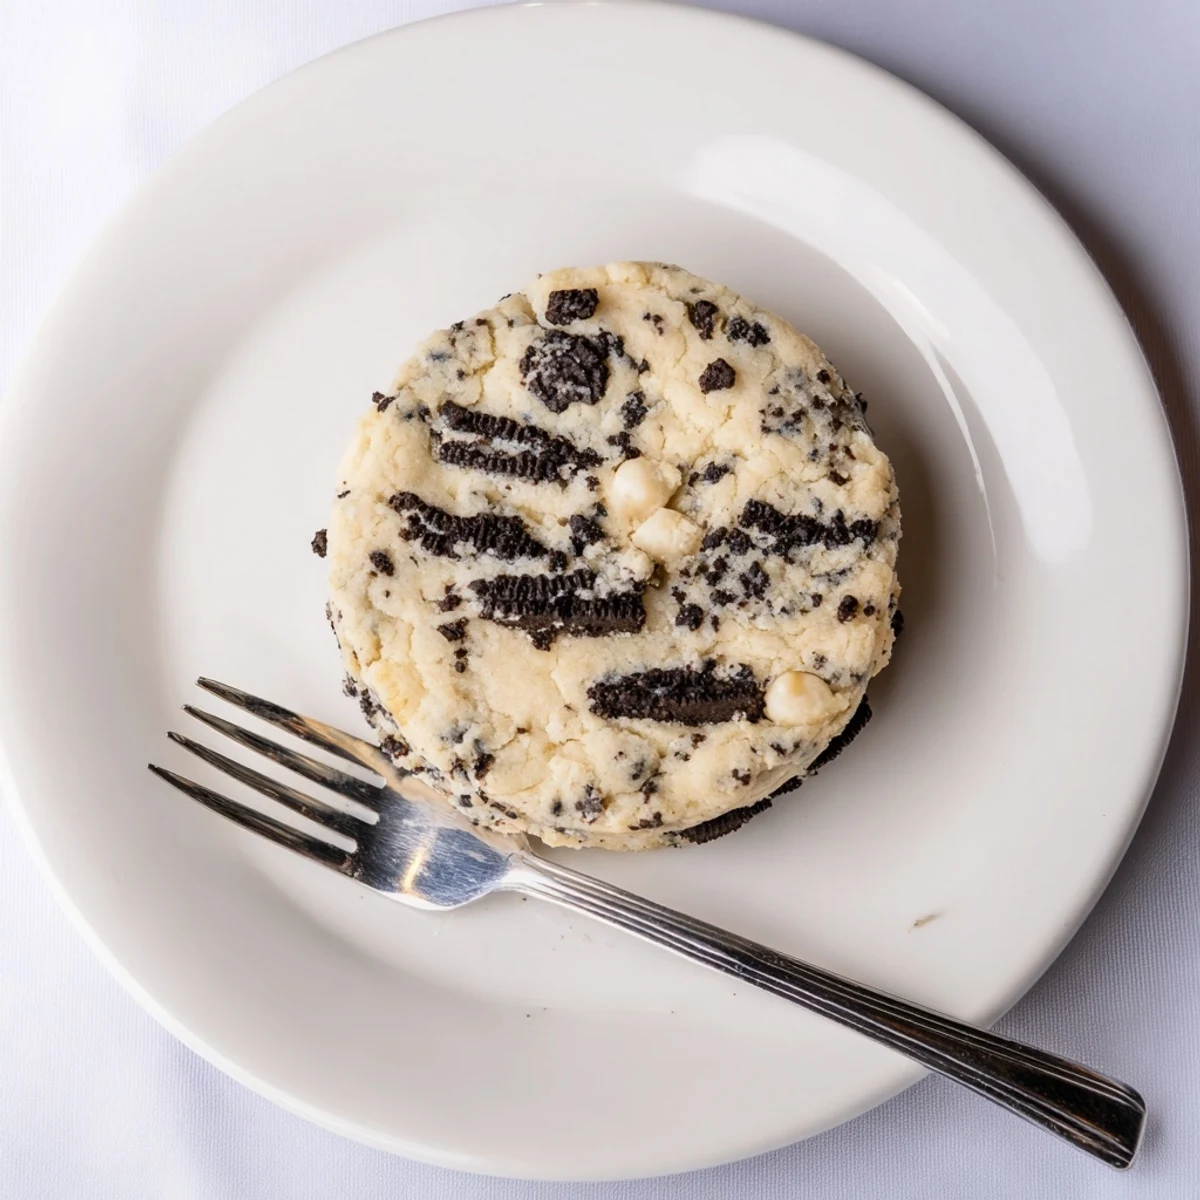
After dozens of batches, I have learned that the size of your cookie pieces matters enormously. Larger chunks create pockets of creaminess while smaller pieces distribute flavor more evenly. Sometimes I do both, using some cookies I crush into crumbs and others I break into big satisfying pieces. This creates layers of texture that keep every bite interesting.
Storage Secrets
These disappear so fast at my house that storage rarely becomes an issue, but I have learned a few tricks over the years. An airtight container keeps them fresh for about four days, though the texture changes slightly, becoming softer and more fudelike. Some people actually prefer them this way. For longer storage, freeze the baked cookies in freezer bags and thaw them at room temperature.
Timing Is Everything
The moment between underbaked and overbaked is incredibly narrow with this recipe. I set my timer for 10 minutes and check them every minute after that. The perfect cookie has set edges but still looks slightly soft in the center. If you wait until the centers look firm, you have already gone too far.
- Rotate your baking sheets halfway through for even browning
- Let your butter soften naturally rather than microwaving it
- Room temperature dough spreads better than cold dough
 Save
Save Whether you are baking for a crowd or just treating yourself, these cookies have a way of making any day feel special. There is something magical about breaking one open warm and finding those pockets of cream and chocolate inside.
Recipe FAQs
- → Can I use different sandwich cookies?
-
Yes, any chocolate sandwich cookie variety works well. Original Oreos provide the most traditional flavor, but you can try golden, double stuf, or even flavored versions for unique variations.
- → Why chill the dough before baking?
-
Chilling for 30 minutes helps prevent excessive spreading during baking, resulting in thicker, chewier cookies with better texture. If time is limited, you can bake immediately but expect slightly flatter results.
- → How do I store these cookies?
-
Store cooled cookies in an airtight container at room temperature for up to 5 days. For longer storage, freeze baked cookies for up to 3 months or freeze unbaked dough balls to bake fresh whenever desired.
- → Can I make these without white chocolate chips?
-
Absolutely. Replace white chocolate chips with milk, dark, or semi-sweet chocolate chips. You could also use peanut butter chips or butterscotch chips for different flavor combinations.
- → What's the secret to soft cookies?
-
Don't overbake—remove from oven when edges are lightly golden but centers still appear slightly underbaked. They'll continue cooking on the hot baking sheet, setting into perfectly soft, chewy texture.