 Save
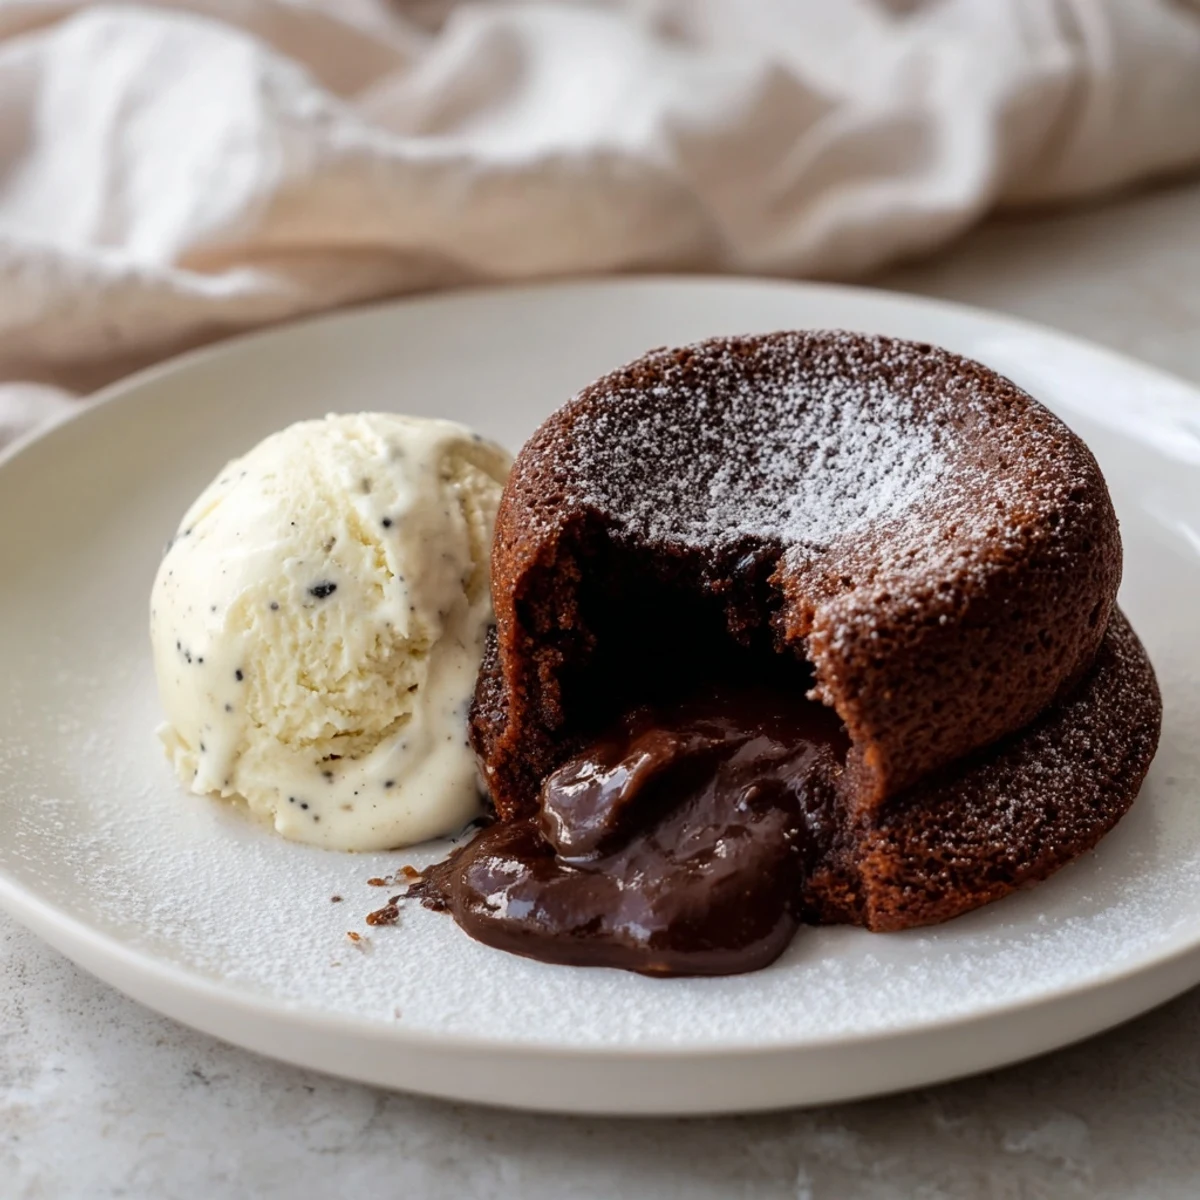
Save These elegant chocolate lava cakes boast molten centers that flow with rich, melted chocolate as you cut in. Baked until just set, they are served warm to showcase a luscious texture, complemented by a smooth, vanilla bean ice cream. With simple yet high-quality ingredients like semisweet chocolate, butter, eggs, and a hint of sea salt, this dessert highlights a classic flavor pairing. Ideal for impressing guests or savoring a cozy treat, the cakes offer a balance of depth from the chocolate and creaminess from the vanilla ice cream.
There's a particular magic that happens when you crack into a warm chocolate lava cake and that river of molten chocolate spills onto the plate. I learned this lesson in the most delicious way possible—by nearly burning myself on the first attempt, which only made me more determined to perfect the timing. Something about the contrast between the crispy-edged cake and that liquid center feels like a small miracle every single time, even now.
I made these for my sister's birthday dinner last winter, and honestly, watching her face when she cut into one was worth every careful second of preparation. The kitchen smelled like melting chocolate and butter—that rich, almost overwhelming sweetness—and I remember my hands shaking slightly as I pulled them from the oven because I knew the timing had to be exact. She called them "the best dessert I've ever had" and requested them again for the next three dinners I hosted.
Ingredients
- Semisweet or bittersweet chocolate (115 g): The quality here truly matters—cheaper chocolate can taste waxy, while good chocolate creates that silky, luxurious flow. I prefer a 60–70% cocoa content for balance between richness and sweetness.
- Unsalted butter (115 g): Room temperature butter melts more evenly with the chocolate, creating a smoother batter without any grainy texture.
- Eggs and egg yolks (2 large eggs plus 2 yolks): The whole eggs give structure while the extra yolks create that crucial richness and help achieve the molten center.
- Granulated sugar (100 g): Whisking it with the eggs until pale and thick is essential—this incorporates air that makes the cakes light despite their decadence.
- All-purpose flour (30 g): Keep this minimal; too much flour and you lose that molten center you're after.
- Fine sea salt (1/4 tsp): A small pinch amplifies the chocolate flavor and balances sweetness without being noticeable.
- Butter and cocoa powder for ramekins: This prevents sticking and adds a subtle chocolate note when you invert the cakes.
- Premium vanilla bean ice cream (500 ml): Use the best you can find—this is your cold contrast, so it deserves quality.
Instructions
- Prepare your stage:
- Butter each ramekin generously, making sure to coat the bottom and sides completely, then dust with cocoa powder and tap out the excess. This step matters more than you'd think—it's what lets the finished cake slide out cleanly onto the plate.
- Melt chocolate and butter:
- Set a heatproof bowl over barely simmering water (the bowl shouldn't touch the water), add chopped chocolate and butter, and stir occasionally until completely smooth. Once melted, pull it away from the heat and let it cool for a minute so it doesn't scramble the eggs.
- Whisk eggs and sugar:
- In another bowl, whisk the whole eggs, egg yolks, and sugar together using an electric mixer or vigorous hand whisking until the mixture is thick, pale, and about tripled in volume—this takes 2–3 minutes. You'll know it's ready when you can draw a ribbon across the surface and it holds for a moment.
- Fold everything together:
- Pour the slightly cooled chocolate mixture into the egg mixture and fold gently with a spatula, turning the bowl as you go. Once mostly combined, sprinkle the flour and salt over top and fold again until just blended—don't overmix or you'll deflate all that air you worked to incorporate.
- Fill and arrange:
- Divide the batter evenly among the prepared ramekins, filling each about three-quarters full. Set them on a baking sheet, which makes moving them in and out of the oven infinitely safer.
- Bake with intention:
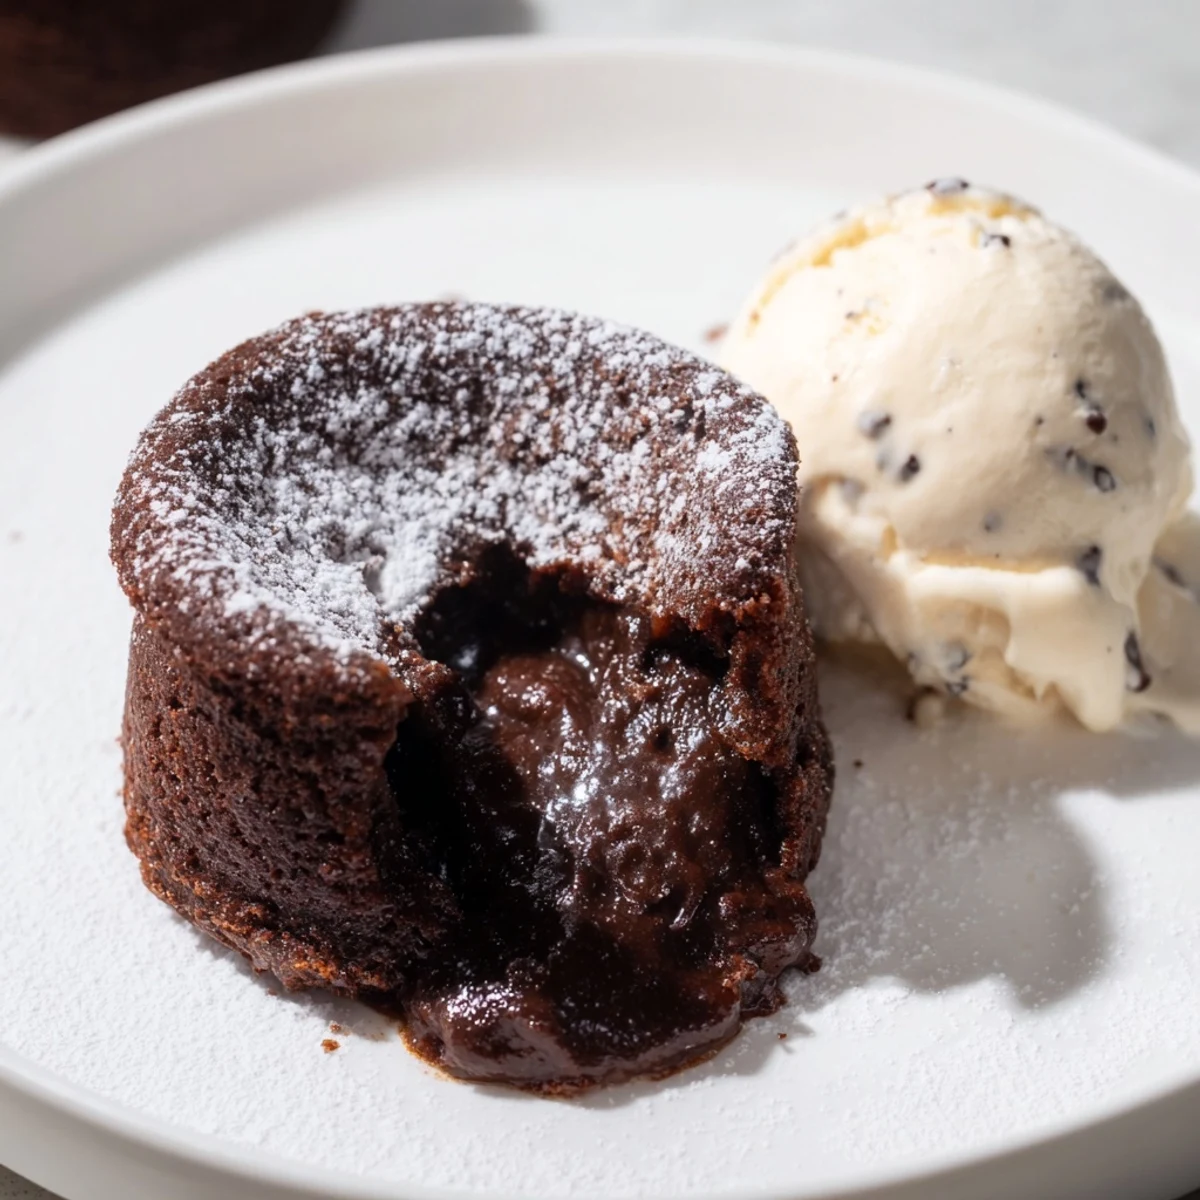
- Place in a 220°C (425°F) oven and bake for 10–12 minutes—the edges should look set and slightly risen, but the center should still jiggle slightly when you gently shake a ramekin. This is the moment that separates a lava cake from an ordinary chocolate cake, so trust your instincts more than the timer.
- Unmold and serve:
- Let the cakes rest for just 1 minute, then run a thin knife around the edges and invert each one onto a plate in one confident motion. Serve immediately with a generous scoop of cold vanilla ice cream right on top.
 Save
Save The first time someone I love closed their eyes after that first bite, I understood why people obsess over this particular dessert. It's not just about taste—it's about that moment of surprise and delight when warm chocolate floods onto a cool plate, when the temperatures and textures create something that feels almost indulgent.
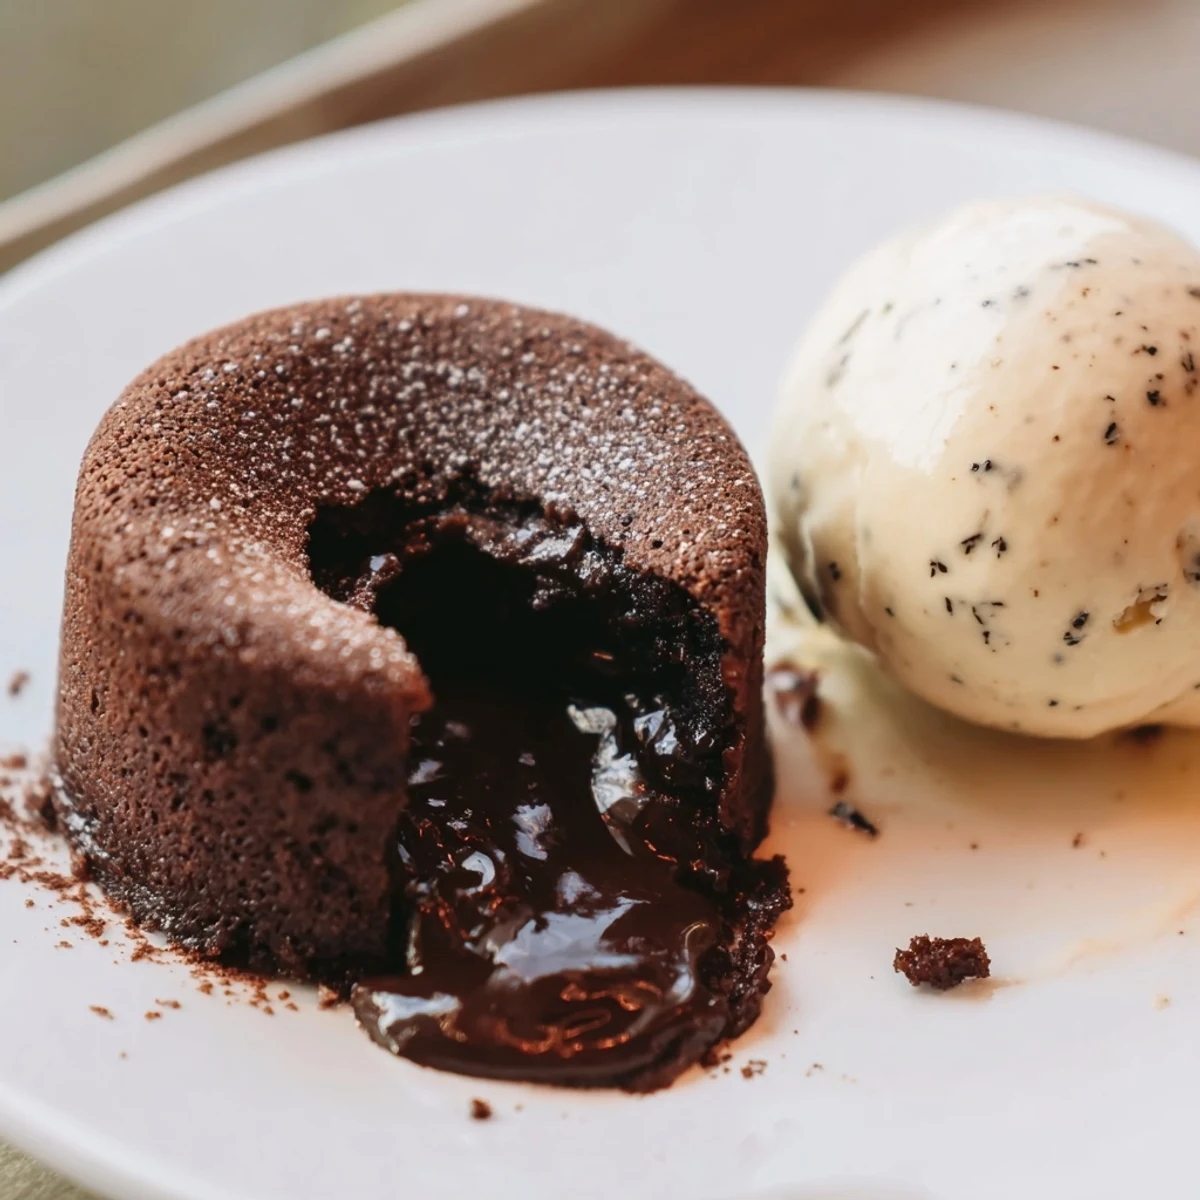
Mastering the Molten Center
Getting that perfect molten center is equal parts science and intuition. The batter itself is designed to stay soft in the middle because you're using a ratio of chocolate and butter that's higher than in a regular cake, plus all those yolks add moisture. I've learned to set a timer for 10 minutes, then start checking by gently shaking a ramekin—if the edges are firm but the center moves like liquid, you're there.
Make-Ahead Magic
One of my favorite discoveries is that you can prepare these cakes hours in advance and refrigerate them in their ramekins. The batter actually becomes easier to work with when cold, and bringing it back to room temperature before baking (about 15 minutes on the counter) somehow helps the centers stay more reliably molten. This takes the stress out of timing if you're hosting dinner.
Flavor Variations and Final Touches
While these are perfect as they stand, I've had wonderful results adding 1 teaspoon of espresso powder to the batter, which deepens the chocolate flavor without making them taste like coffee. A splash of Grand Marnier or Cointreau also works beautifully, adding a subtle citrus note.
- Dust the plate with powdered sugar or cocoa powder just before serving for a polished presentation.
- Fresh raspberries or a small mound of whipped cream on the side adds color and another textural contrast.
- If you're feeling fancy, a sprinkling of fleur de sel over the warm chocolate creates a sophisticated sweet-salty moment.
 Save
Save These cakes remind me why cooking for people matters—it's not just about feeding them, it's about creating a moment where warmth and indulgence are impossible to ignore. Make them when you want someone to feel truly cared for.
Recipe FAQs
- → How do I achieve the perfect molten center?
-
Bake the cakes just until the edges are set but the center remains soft, typically 10–12 minutes. Avoid overbaking to preserve the gooey texture.
- → Can I prepare the batter in advance?
-
Yes, batter can be prepared ahead and refrigerated. Bring to room temperature before baking to ensure even cooking.
- → What type of chocolate works best?
-
Use semisweet or bittersweet chocolate for a rich, balanced flavor and proper melting consistency.
- → How do I prevent sticking when baking?
-
Generously butter the ramekins and dust with cocoa powder before adding the batter to create a non-stick surface.
- → Are there suggested garnish options?
-
Fresh berries or a light dusting of powdered sugar add visual appeal and a subtle flavor contrast.