 Save
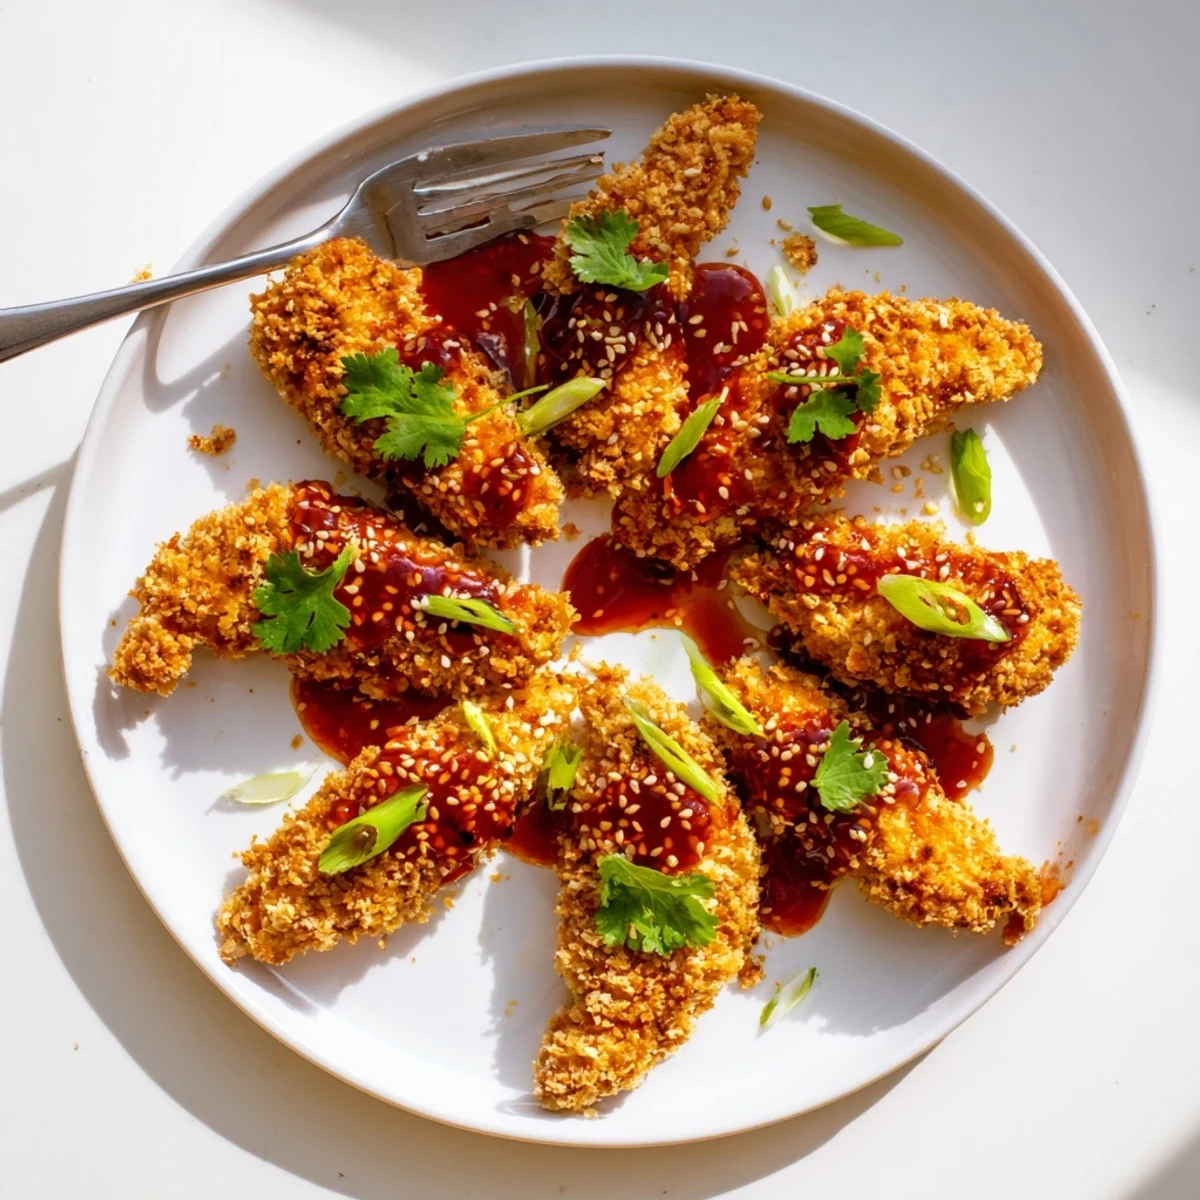
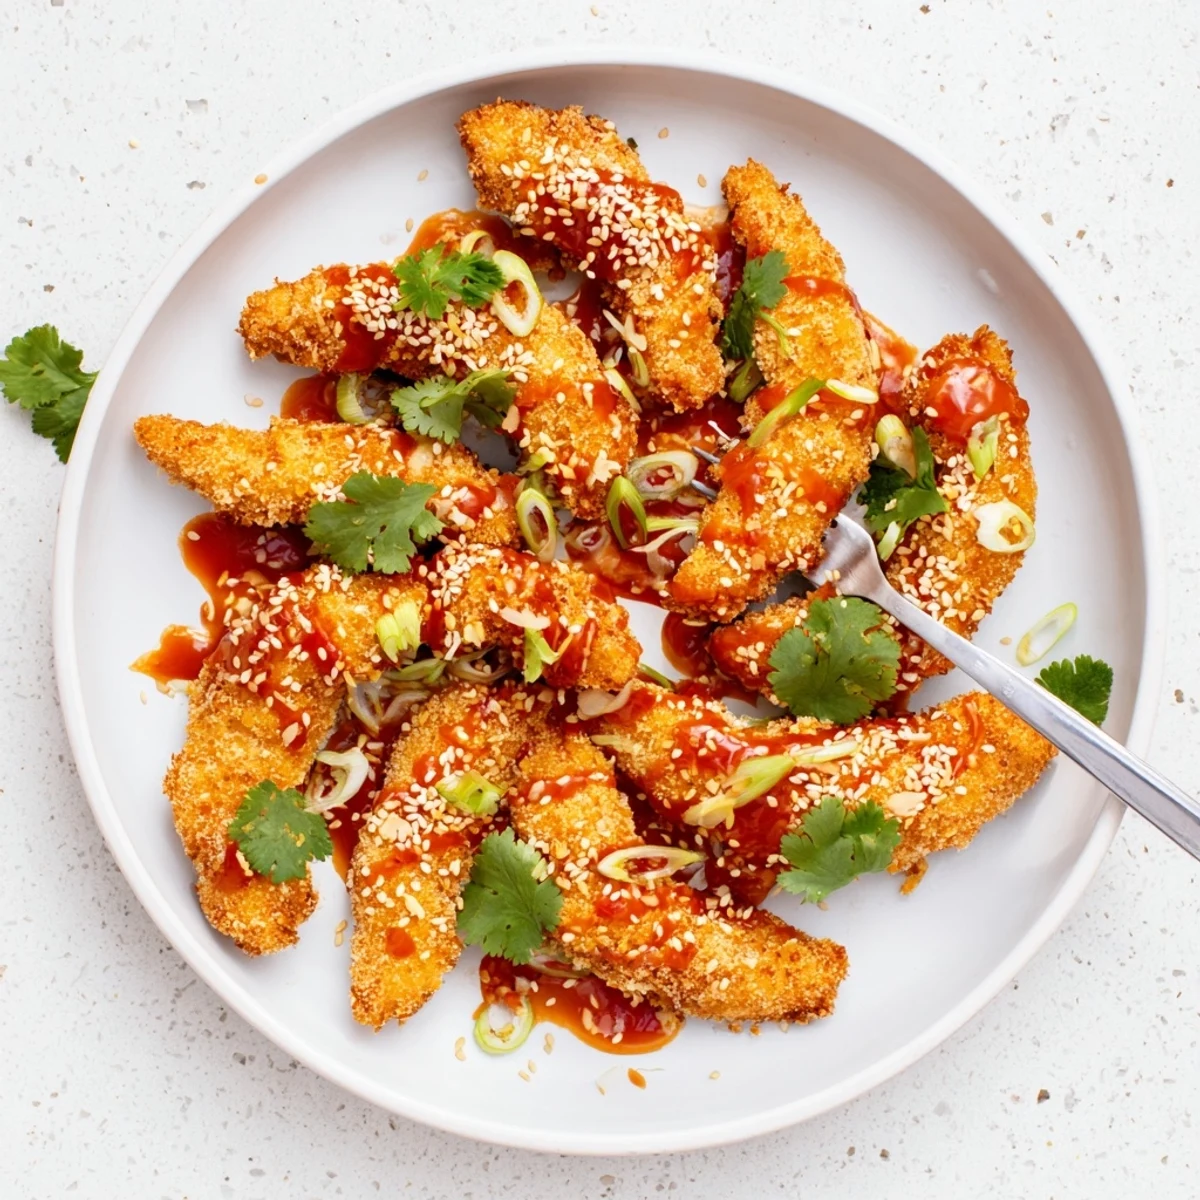
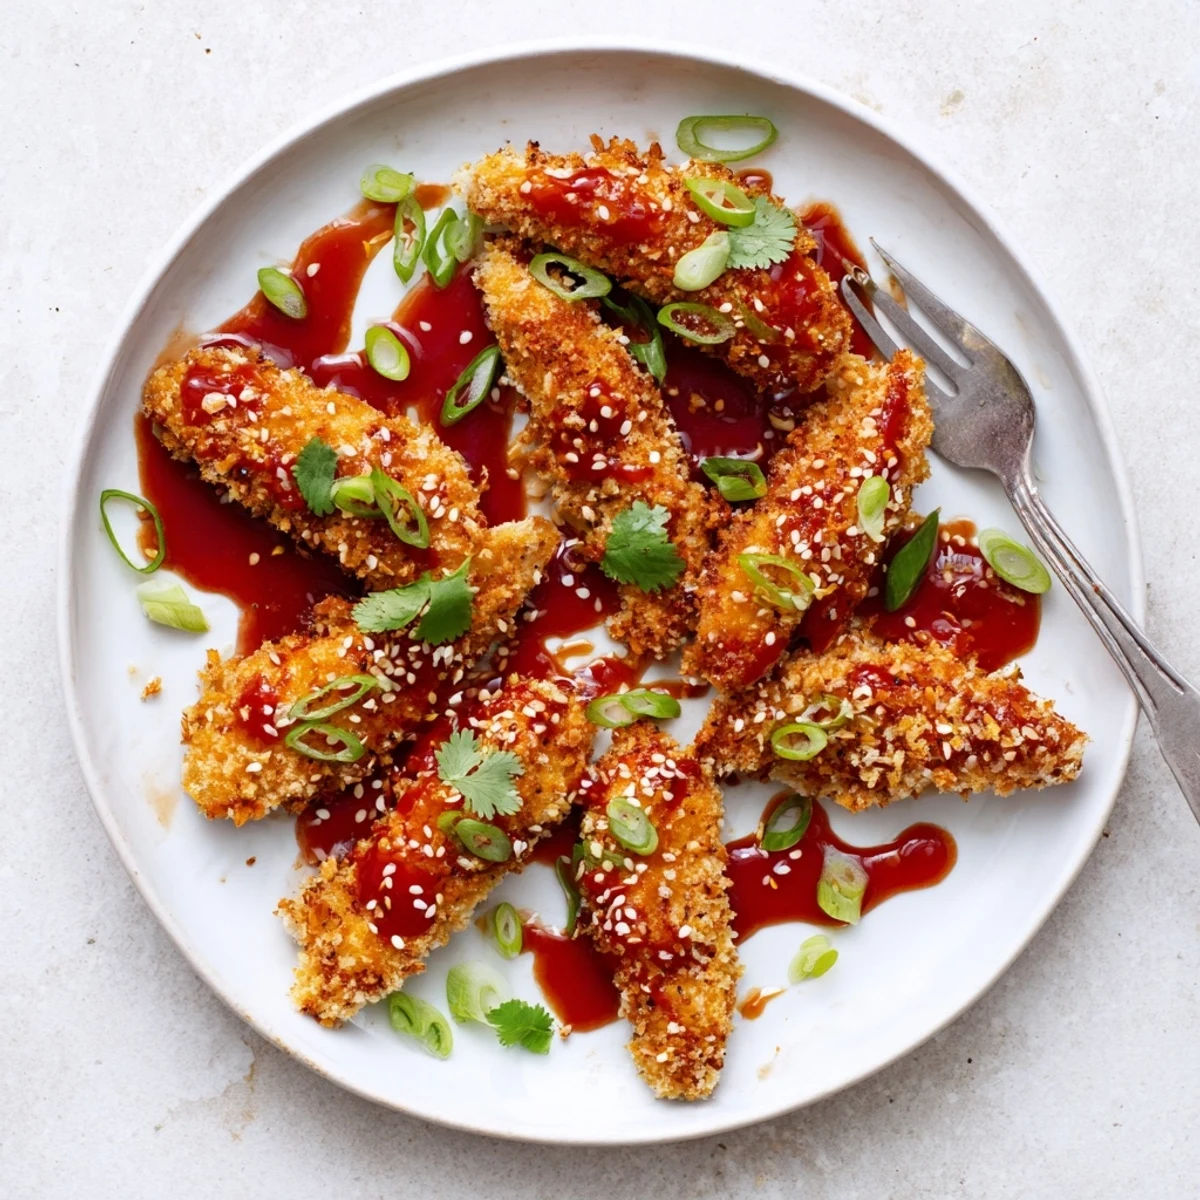
Save These crispy chicken fingers feature a golden panko coating that gets tossed in a homemade sticky Thai sauce. The glaze balances sweet chili sauce, honey, and soy sauce with aromatic garlic, ginger, and a hint of sriracha heat. Oven-baked until perfectly crunchy, then coated in the warm sauce for that irresistible sticky finish. Garnish with toasted sesame seeds, fresh spring onions, and cilantro for restaurant-quality results at home.
The first time I made these for a weekend gathering, my friend Marco reached across the table and said, "I need this recipe immediately." That was the moment I knew this wasn't just another appetizer recipe.
Last summer I made a triple batch for my sister's birthday party and watched them disappear in under ten minutes. My dad, who usually avoids anything with spice, went back for fourths and asked if I could teach him the sauce technique.
Ingredients
- Boneless chicken tenders: Cutting these into even strips ensures they cook at the same rate, nobody likes some pieces burnt while others are still raw inside
- Panko breadcrumbs: These Japanese breadcrumbs create the most incredible crunch that regular breadcrumbs just cannot achieve
- Sweet chili sauce: This is the backbone of the sticky glaze and worth seeking out at an Asian market if your grocery store does not carry it
- Fresh ginger: The grated fresh root makes such a difference compared to paste, you can really taste the bright zing it adds
- Sesame oil: A little goes a long way but that nutty aroma is what makes the whole kitchen smell amazing
Instructions
- Get your oven ready first:
- Crank that oven to 220°C and line your baking tray with parchment paper, this cleanup step will thank you later
- Season the chicken strips:
- Sprinkle salt and pepper over both sides of your chicken strips, do not be shy with the seasoning since the coating needs flavor too
- Set up your coating station:
- Arrange three shallow bowls in a row with flour, beaten eggs, and panko mixed with garlic powder and smoked paprika
- Coat each strip thoroughly:
- Dredge the chicken in flour, shake off excess, dip in egg, then press firmly into the panko mixture to get it to stick
- Arrange and oil the chicken:
- Lay the coated strips on your prepared tray and give them a quick spray or brush with oil for that golden finish
- Bake until crispy:
- Slide them into the hot oven for 20 to 25 minutes, flipping halfway through so both sides get beautifully golden brown
- Make the magic sauce:
- While chicken bakes, combine sweet chili sauce, soy sauce, honey, rice vinegar, sesame oil, sriracha, garlic, and ginger in a small saucepan
- Simmer to thicken:
- Let the sauce bubble gently for 2 to 3 minutes until it coats the back of a spoon, stirring constantly so nothing burns
- Toss and coat:
- Pull the crispy chicken from the oven, drop it into a large bowl, and pour that warm sauce over the top
- Finish with flair:
- Toss everything gently until each piece is glossy and coated, then scatter sesame seeds and sliced spring onions over the top
 Save
Save These have become my go to when someone says they are bringing people over for dinner. There is something about the combination of crunch and sticky sweetness that makes people gather around the platter.
Making Them Extra Crispy
The broiler trick from the notes section is absolute genius. After baking, give them just two minutes under the broiler and watch them transform from good to extraordinary. Just stay right there because panko can go from perfectly golden to burned in seconds.
Sauce Timing Secrets
I start the sauce about five minutes before the chicken finishes baking. This gives it time to thicken slightly while still being warm and pourable when the chicken comes out. If you make it too early, it will turn into candy and you will have a sticky situation on your hands.
Perfect Pairings
The notes suggest jasmine rice and that is perfect because the sauce clings to each grain. I also love serving crisp cucumber spears and carrot sticks alongside to cut through the richness.
- Cool cucumber slices balance the heat beautifully
- A cold beer or chilled white wine makes these feel like a proper party
- Leftovers reheat surprisingly well in a 180°C oven for 10 minutes
 Save
Save Every time I serve these, someone asks why we do not make restaurant food like this at home more often. The truth is we absolutely should.
Recipe FAQs
- → How do I get the crispiest chicken fingers?
-
For extra crispiness, broil the chicken fingers for 2 minutes after baking. This adds a golden crunch. Also ensure your panko coating is even and lightly spray with oil before baking.
- → Can I make this vegetarian?
-
Yes! Substitute the chicken with firm tofu strips. Press the tofu well to remove excess moisture, then follow the same coating and baking method for crispy vegetarian fingers.
- → What should I serve with these chicken fingers?
-
Pair with jasmine rice to soak up the extra sauce, fresh vegetable sticks for crunch, or serve as an appetizer alongside other finger foods. A chilled Riesling or light lager complements the flavors beautifully.
- → Can I make the sauce ahead of time?
-
The sticky Thai sauce can be prepared up to 3 days in advance and stored in the refrigerator. Reheat gently on the stove before tossing with the freshly baked chicken fingers.
- → How spicy is this dish?
-
The spice level is mild to medium, controlled by the sriracha in the sauce. Omit the sriracha for a family-friendly version, or increase it for those who enjoy more heat.