 Save
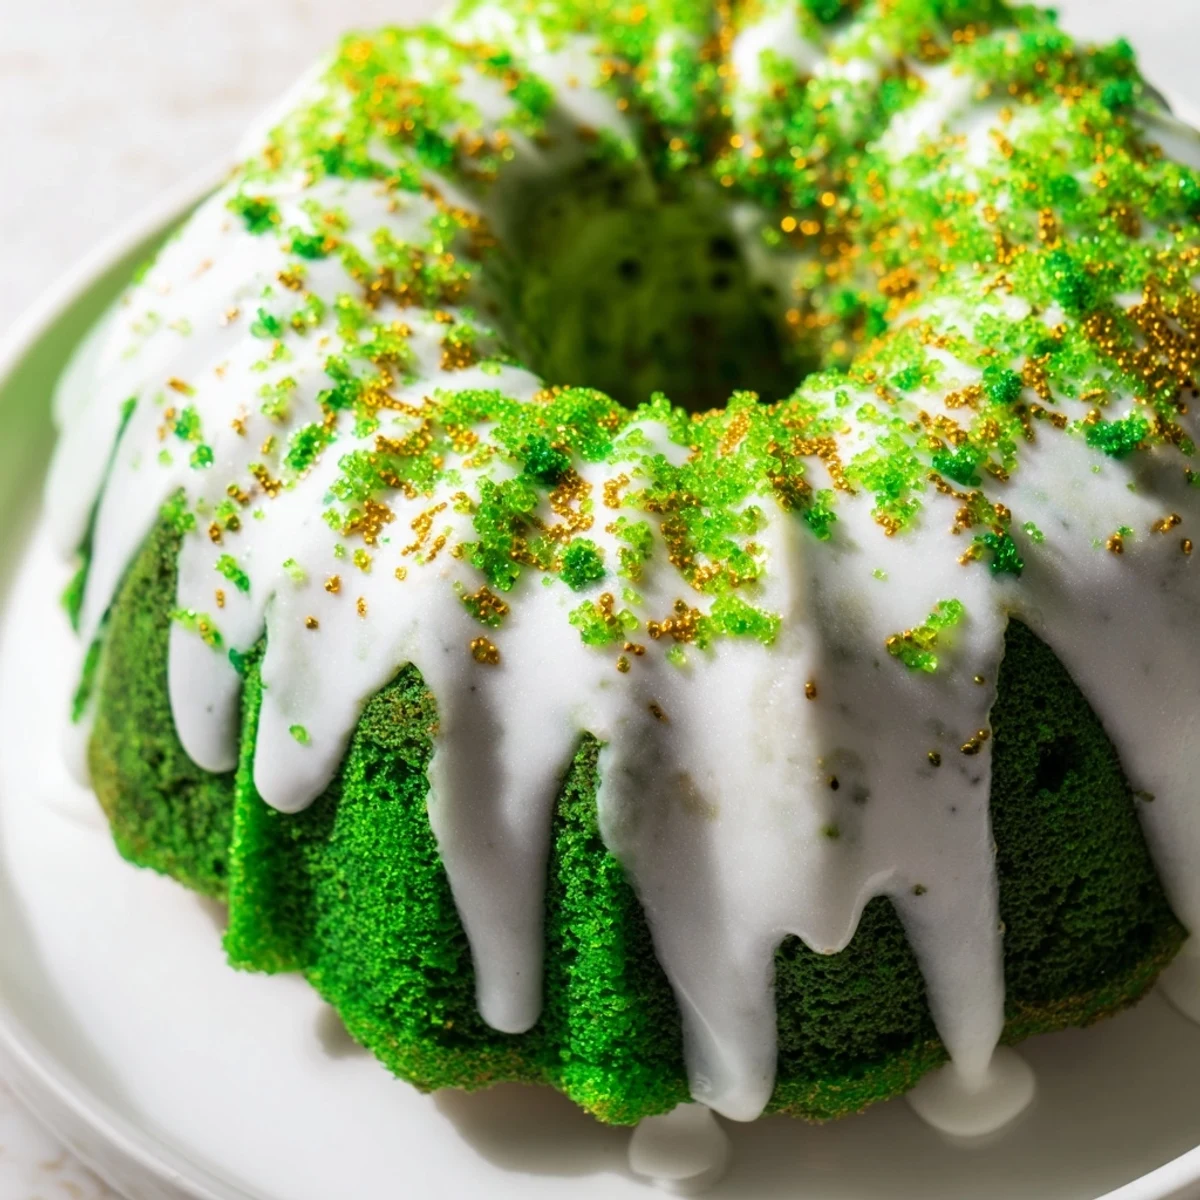
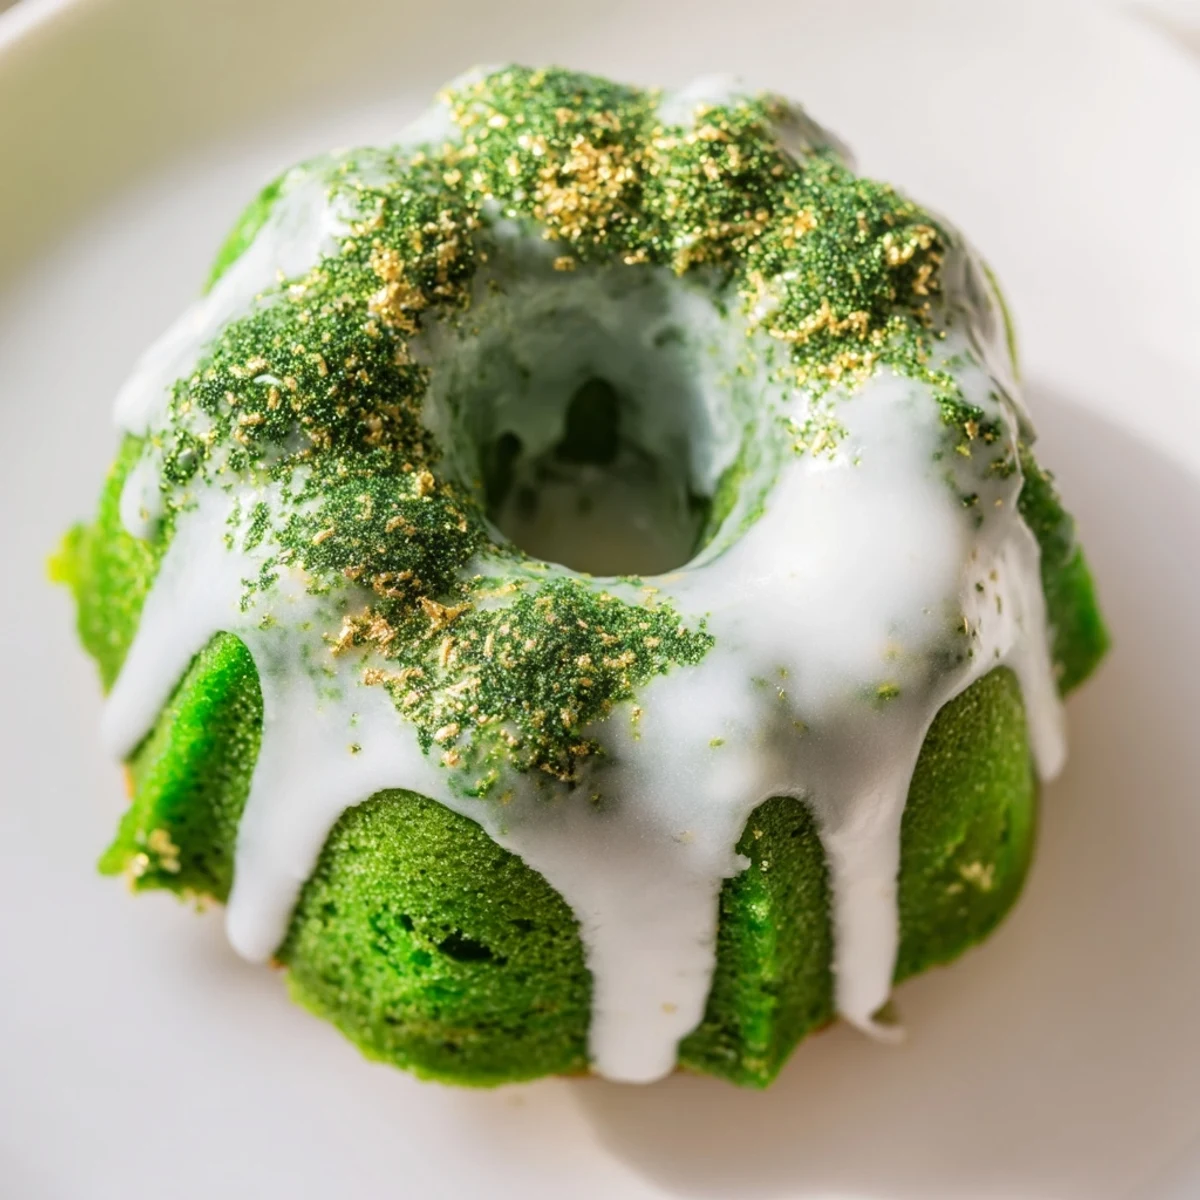
Save These delightfully moist mini bundt cakes capture the spirit of St. Patricks Day with their vibrant green color and rich chocolate undertone. The tender crumb comes from buttermilk and perfectly creamed butter, while the velvety texture makes each bite irresistible. A drizzle of sweet vanilla glaze adds the finishing touch, with optional green and gold sprinkles for extra festivity. Ready in just 45 minutes, these handheld desserts are perfect for parties, classroom celebrations, or treating yourself to something special.
The first time I attempted green velvet cake, I accidentally used way too much food coloring and ended up with something that looked more like a science experiment than a dessert. My kitchen smelled amazing though, that perfect blend of chocolate and vanilla that makes your stomach growl. Since then I have learned that gel coloring is far superior to liquid, and a little goes a long way. These mini bundts became my St. Patricks Day tradition after that colorful disaster taught me everything.
Last year I made three dozen of these for my daughters classroom celebration and the kids went absolutely wild for them. One boy told me they tasted like leprechaun magic, which I am pretty sure is the highest compliment a second grader can pay. The teacher even asked for the recipe after trying one during the party. I love how something so simple brings so much joy.
Ingredients
- All-purpose flour: The foundation of the cake structure, providing just enough protein without making these tough
- Unsweetened cocoa powder: This gives the classic velvet flavor without overpowering the delicate vanilla notes
- Baking soda: Essential for the rise and that tender crumb texture we want
- Unsalted butter: Room temperature butter creamed with sugar creates the perfect airy base
- Granulated sugar: Sweetens while helping create that lovely tender texture
- Large eggs: Must be room temperature to properly emulsify with the butter and sugar
- Buttermilk: The secret ingredient for moisture and that subtle tang typical of velvet cakes
- Vanilla extract: Pure vanilla extract makes such a difference in the final flavor
- White vinegar: Reacts with baking soda for extra lift and tenderizes the crumb
- Green gel food coloring: Gel coloring provides vibrant color without adding excess liquid
- Powdered sugar: Creates the silky smooth glaze that drips beautifully down the sides
- Milk: Thins the glaze to the perfect pourable consistency
- Sprinkles: Purely for festive fun and that celebratory St. Patricks Day spirit
Instructions
- Prep your oven and pan:
- Preheat oven to 350°F and grease every nook and cranny of your mini bundt pan thoroughly, paying special attention to those detailed crevices where cakes love to stick.
- Whisk the dry ingredients:
- Combine flour, cocoa powder, baking soda, and salt in a medium bowl, whisking to ensure everything is evenly distributed.
- Cream butter and sugar:
- Beat softened butter and granulated sugar for about 3 minutes until the mixture is pale, fluffy, and noticeably increased in volume.
- Add the eggs:
- Crack in eggs one at a time, beating well after each addition until fully incorporated and the mixture looks glossy.
- Mix the wet ingredients:
- In a separate small bowl, whisk together buttermilk, vanilla extract, vinegar, and green gel food coloring until combined.
- Combine everything:
- Add half the dry ingredients to the butter mixture, mix briefly, then pour in the buttermilk mixture before adding remaining dry ingredients until just smooth.
- Fill the pans:
- Spoon batter into prepared mini bundt cavities, filling each about two thirds full to allow room for rising without overflowing.
- Bake to perfection:
- Bake for 18 to 22 minutes until a toothpick inserted into the thickest part comes out clean or with just a few moist crumbs.
- Cool carefully:
- Let cakes rest in the pan for 10 minutes before gently turning them out onto a wire rack to cool completely.
- Make the glaze:
- Whisk sifted powdered sugar with milk and vanilla until smooth and pourable, adding more milk a teaspoon at a time if needed.
- Glaze and decorate:
- Drizzle the glaze generously over each completely cooled cake and immediately add sprinkles before the glaze sets.
 Save
Save My grandmother used to say that food made with love always tastes better, and I think about that every time I glaze these little cakes. There is something so satisfying about watching that white icing cascade down the green curves. Last St. Patricks Day my husband ate three before I could even pack them up for the party.
Making These Ahead
You can bake the mini bundts up to two days in advance and store them in an airtight container at room temperature. Wait to glaze until the day you plan to serve them, otherwise the icing will start to soften the cake tops. I have also frozen unglazed cakes for up to a month with great success, just thaw them on the counter and glaze when ready.
Pan Perfection
If you do not have a mini bundt pan, a regular muffin tin works in a pinch though you will lose that classic ring shape. I have found that spraying the pan with nonstick spray and then using a pastry brush to get into every crevice prevents sticking better than butter alone. Letting the cakes cool for exactly 10 minutes is the sweet spot, too soon and they break apart, too long and they stick.
Color Customization
Start with one half tablespoon of gel coloring and add more drop by drop until you reach your desired shade of green. Remember that unbaked batter often looks darker than the final baked product. If you want a more pastel look, one half tablespoon should be plenty, but for that vibrant St. Patricks Day green you might need a full tablespoon.
- Natural food coloring works but produces a much more muted olive tone
- Liquid coloring can be used but you may need to reduce the buttermilk slightly
- The color will fade slightly during baking, so go a shade darker than your target
 Save
Save May your St. Patricks Day be filled with laughter, good friends, and perhaps a few too many of these charming green treats.
Recipe FAQs
- → What makes these mini bundt cakes moist?
-
The combination of buttermilk, properly creamed butter and sugar, and the chemical reaction between vinegar and baking soda creates an exceptionally tender, moist crumb that stays fresh longer than typical cakes.
- → Can I make these ahead of time?
-
Yes! Bake the cakes up to 2 days in advance and store in an airtight container. Add the glaze and sprinkles on the day you serve them for the freshest appearance and texture.
- → Why use gel food coloring instead of liquid?
-
Gel food coloring provides much more intense color with less liquid, which prevents affecting the cake's texture and batter consistency. You'll need far less gel to achieve that vibrant St. Patricks Day green.
- → Can I use a regular bundt pan instead?
-
You can use one standard bundt pan, though baking time will increase to 30-35 minutes. The yield will be one large cake instead of 12 individual servings, perfect for potlucks or family gatherings.
- → What if I don't have buttermilk?
-
Simply mix ½ cup regular milk with 1 teaspoon lemon juice or white vinegar. Let it sit for 5 minutes until slightly thickened and curdled—this creates the perfect buttermilk substitute with the same acidity needed for the cake's texture.
- → How do I prevent the cakes from sticking to the pan?
-
Thoroughly grease every nook and cranny of your mini bundt pan with softened butter or nonstick spray, paying special attention to the center tube. Let the cakes cool for exactly 10 minutes before inverting—too long and they'll stick, too soon and they may break.