 Save
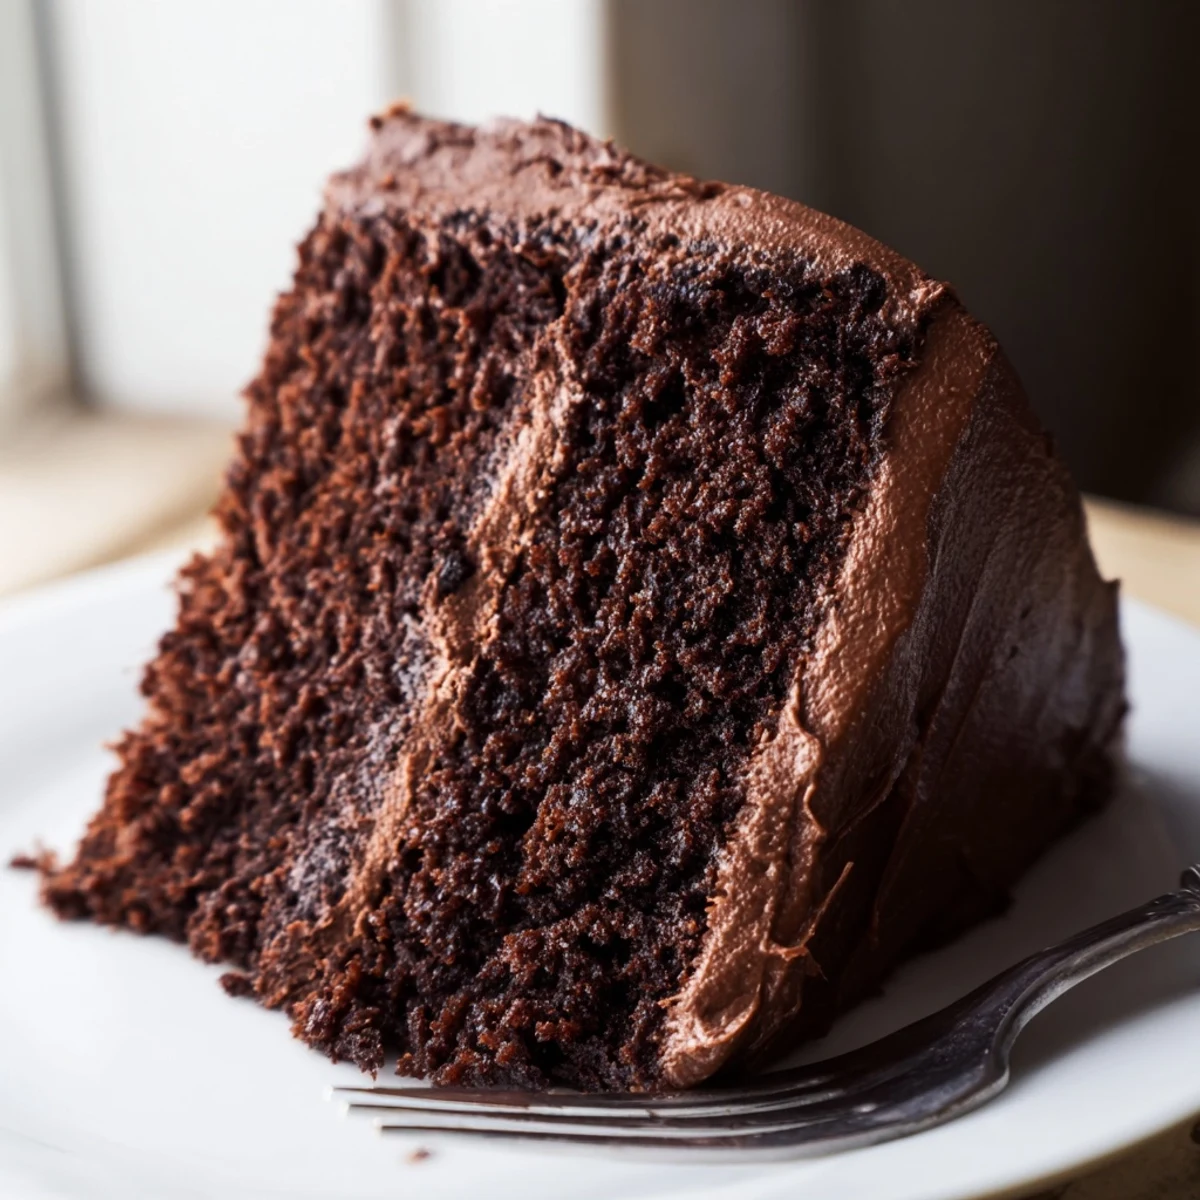
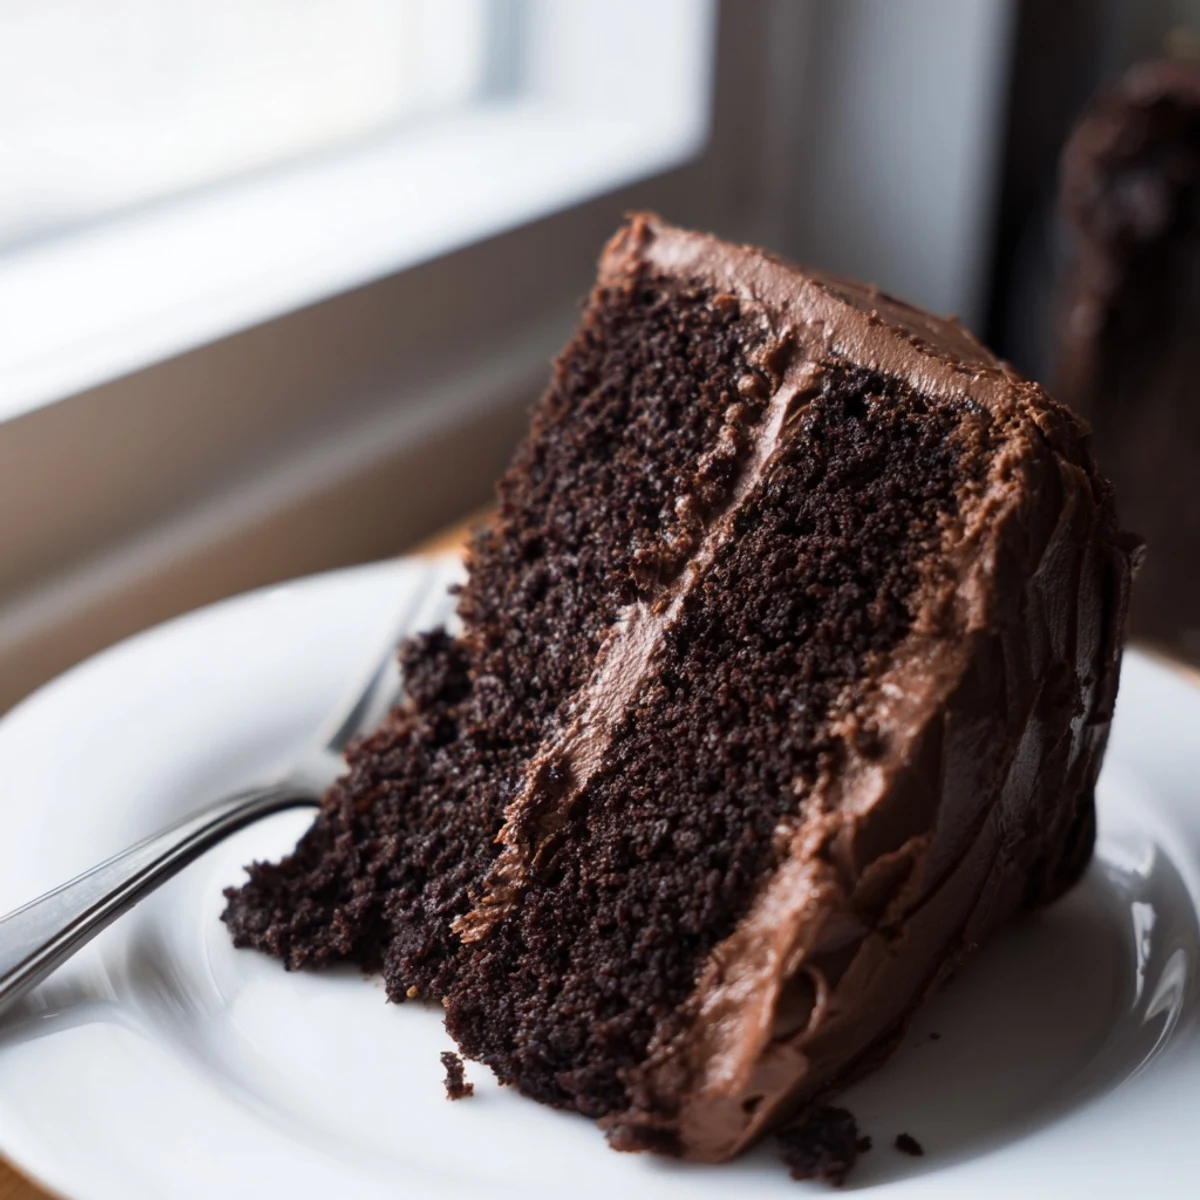
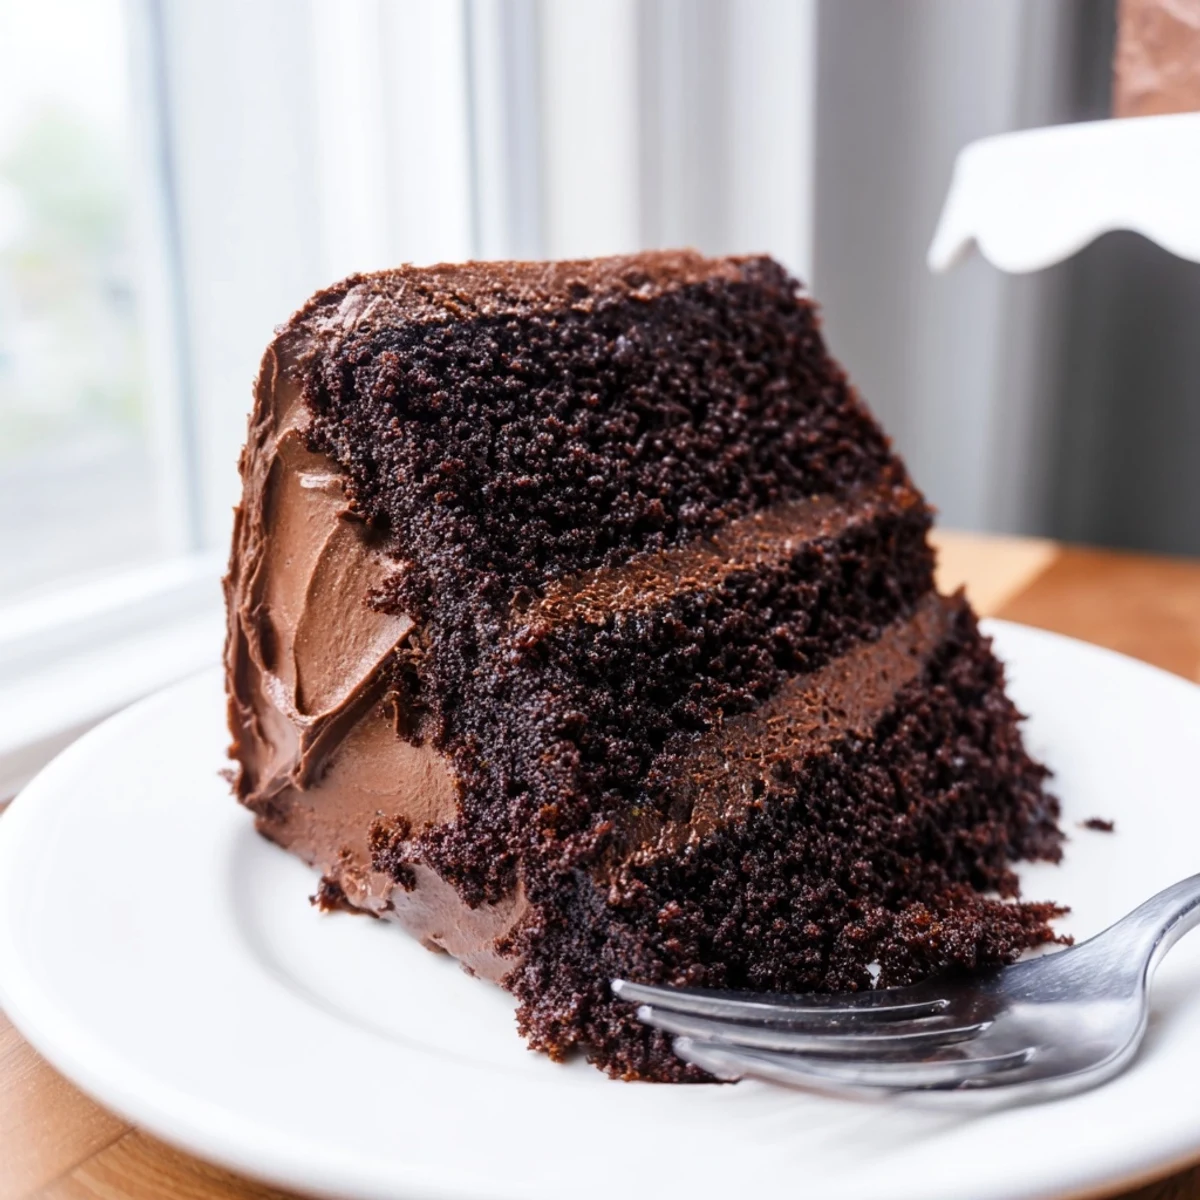
Save This rich, moist chocolate cake features three layers of tender cocoa-spiced sponge topped with silky chocolate buttercream frosting. The cake comes together in just over an hour, using pantry staples like flour, sugar, cocoa powder, eggs, and milk. The batter is exceptionally easy to work with—simply whisk dry ingredients, combine with wet ingredients, add boiling water for that signature tender crumb, then bake until golden. While the cakes cool, prepare the luscious chocolate frosting by whipping butter with powdered sugar, cocoa powder, vanilla, and just enough milk to achieve spreading consistency. Stack the layers with generous frosting between each, then coat the top and sides for a stunning presentation. Brushing the cooled layers with simple syrup before frosting adds extra moisture, while a pinch of espresso powder enhances the chocolate depth. Serve with fresh berries or vanilla ice cream for an irresistible dessert.
Last Thanksgiving, my grandmother asked me to bring dessert and I spent three days testing chocolate cakes before this one emerged the winner. Something about how the boiling water creates this incredibly tender crumb while still keeping the chocolate flavor intense enough to satisfy serious cravings.
My sister-in-law typically insists on bakery cakes for birthdays, but after trying this recipe last spring, she asked me to make it for her 40th. Seeing someone who usually claims not to have a sweet tooth go back for seconds pretty much sealed the deal on this becoming my go-to celebration cake.
Ingredients
- 2 cups all-purpose flour: Sifting this first prevents lumps and ensures your cake has an even, fine crumb structure
- 2 cups granulated sugar: This amount creates just the right sweetness level without overpowering the chocolate
- 3/4 cup unsweetened cocoa powder: Use a high quality cocoa here since its the main flavor player
- 2 teaspoons baking powder: Works with the baking soda to give the cake proper lift
- 1.5 teaspoons baking soda: Essential for reacting with the acidic cocoa
- 1 teaspoon salt: Balances and intensifies the chocolate flavor
- 1 cup whole milk: Room temperature ingredients emulsify better for a uniform batter
- 1/2 cup vegetable oil: Keeps the cake incredibly moist without any solid fat flavor
- 2 large eggs: Room temperature eggs incorporate more easily into the batter
- 2 teaspoons pure vanilla extract: Pure vanilla makes a noticeable difference in depth of flavor
- 1 cup boiling water: This secret ingredient blooms the cocoa and creates that tender texture
- 1 cup unsalted butter: Softened to room temperature for smooth frosting
- 3.5 cups powdered sugar: Sifting prevents grainy frosting and lumps
- 3/4 cup unsweetened cocoa powder: Adds rich chocolate flavor to the frosting
- 1/2 teaspoon salt: A little salt prevents the frosting from tasting cloyingly sweet
- 2 teaspoons pure vanilla extract: Rounds out the frosting flavor
- 1/4 cup whole milk: Adjust this to get your perfect spreading consistency
Instructions
- Preheat your oven:
- Set it to 350°F and generously grease two 9-inch round pans with butter, dust with flour, then line the bottoms with parchment paper for easy removal.
- Whisk the dry ingredients:
- In a large bowl, sift together the flour, sugar, cocoa powder, baking powder, baking soda, and salt until everything is well combined.
- Add the wet ingredients:
- Pour in the milk, vegetable oil, eggs, and vanilla extract, then beat on medium speed for about 2 minutes until the batter is smooth.
- Add the boiling water:
- Reduce your mixer to low speed and carefully pour in the boiling water as it runs. The batter will become very thin and this is exactly what you want.
- Divide and bake:
- Pour the batter evenly between your prepared pans and bake for 30 to 35 minutes until a toothpick inserted into the center comes out clean.
- Cool completely:
- Let the cakes rest in their pans for 10 minutes, then turn them out onto a wire rack to cool entirely before frosting.
- Make the frosting:
- Beat the softened butter until creamy, then add the powdered sugar, cocoa powder, and salt on low speed until combined.
- Finish the frosting:
- Beat in the vanilla and milk, then increase speed and whip for 2 minutes until light and fluffy. Add more milk if needed for spreading.
- Assemble the cake:
- Place one cooled cake layer on your serving plate, spread frosting over the top, add the second layer, then frost the top and sides generously.
 Save
Save There is something genuinely satisfying about stacking those two cooled layers and watching the frosting transform it into an actual birthday cake. My kitchen always smells like chocolate heaven for hours after baking this.
Making It Ahead
You can bake the cake layers up to two days in advance if wrapped tightly in plastic and stored at room temperature. The frosting also keeps well in the refrigerator for up to a week.
Flavor Variations
Adding a teaspoon of espresso powder to the batter deepens the chocolate flavor without making the cake taste like coffee. A swirl of raspberry preserves between the layers creates a classic chocolate raspberry combination.
Serving Suggestions
This cake tastes even better on the second day as the flavors have time to meld together. Serve it slightly chilled for a firmer texture or at room temperature for the most velvety experience.
- Fresh berries scattered around the plated slices make for a beautiful presentation
- A scoop of vanilla ice cream alongside a warm slice is absolutely decadent
- Lightly dusting the top with cocoa powder adds an elegant finish
 Save
Save Every time I pull this cake out of the oven, I am reminded why homemade dessert will always beat anything store-bought.
Recipe FAQs
- → How do I make the cake extra moist?
-
Brush the cooled cake layers with simple syrup before frosting to lock in moisture. You can also add an extra tablespoon of vegetable oil to the batter or substitute buttermilk for regular milk.
- → Can I make this cake ahead of time?
-
Yes! Bake the layers up to 2 days in advance, wrap tightly in plastic, and store at room temperature. Make the frosting separately and refrigerate. Frost the cake on the day you plan to serve it.
- → What's the best way to frost this cake?
-
Apply a thin crumb coat of frosting first, chill for 15 minutes, then add the final layer. This creates smooth, professional-looking results without cake crumbs showing through.
- → Can I make this gluten-free?
-
Absolutely! Substitute the all-purpose flour with a high-quality gluten-free flour blend in equal amounts. The texture and taste remain just as delicious.
- → How should I store the finished cake?
-
Store frosted cake at room temperature for up to 3 days, covered with a cake dome or plastic wrap. For longer storage, refrigerate for up to a week or freeze individual slices for up to 3 months.