 Save
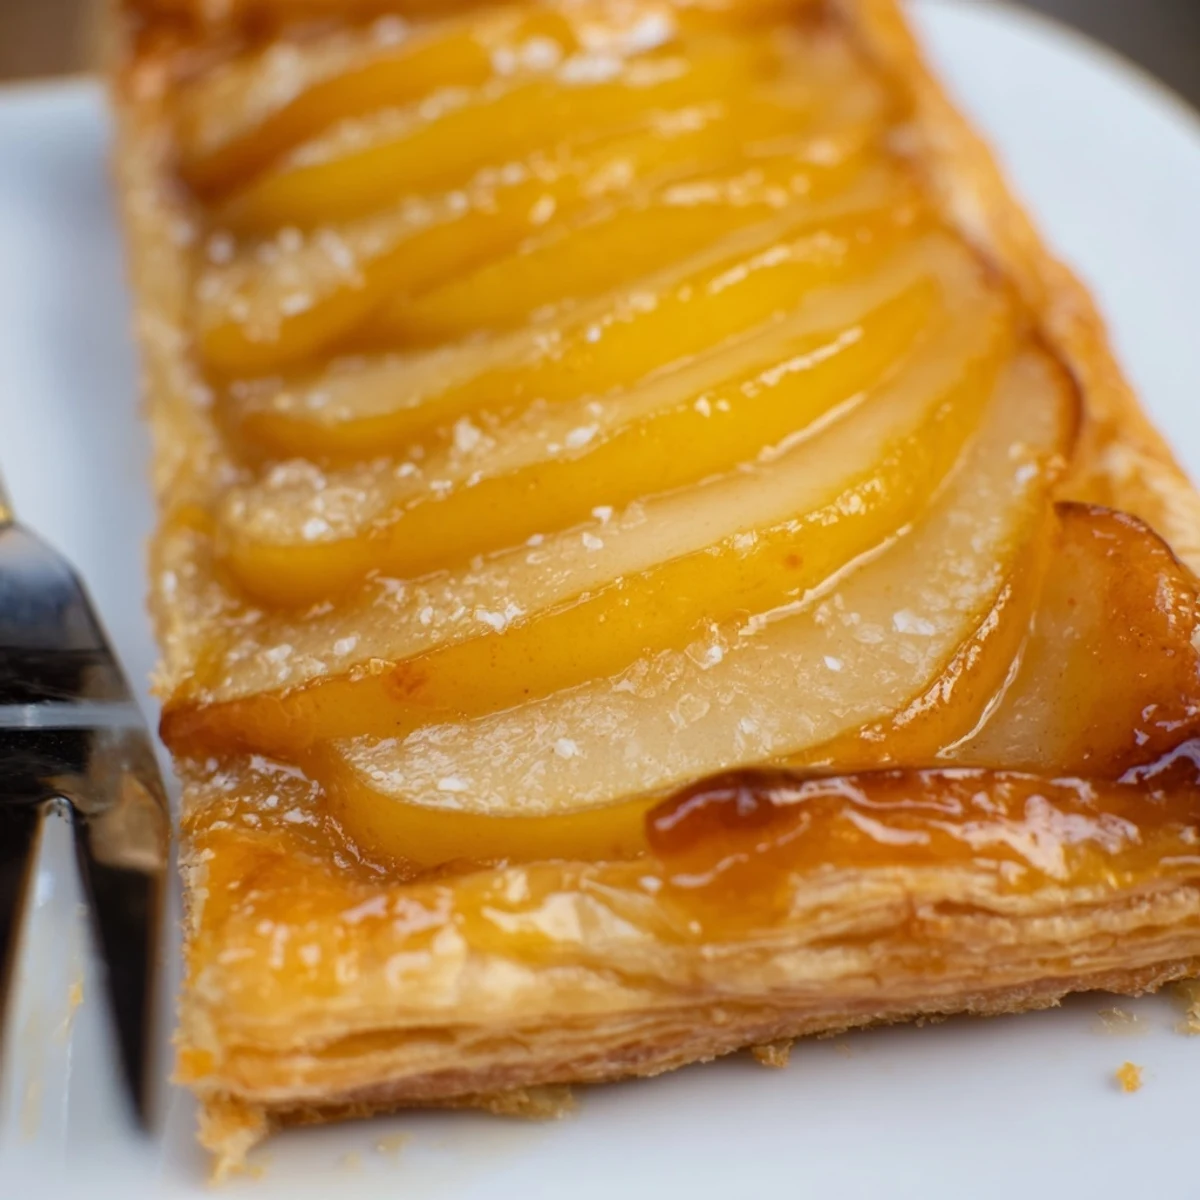
Save This French-inspired dessert layers tender pear slices on thawed puff pastry, then bakes at 200°C (400°F) for 20–25 minutes until golden and puffed. Brush edges with beaten egg for a glossy rim and warm apricot jam with a splash of water to glaze the fruit while still warm. Serve warm or at room temperature; finish with toasted nuts or a scoop of vanilla ice cream for contrast.
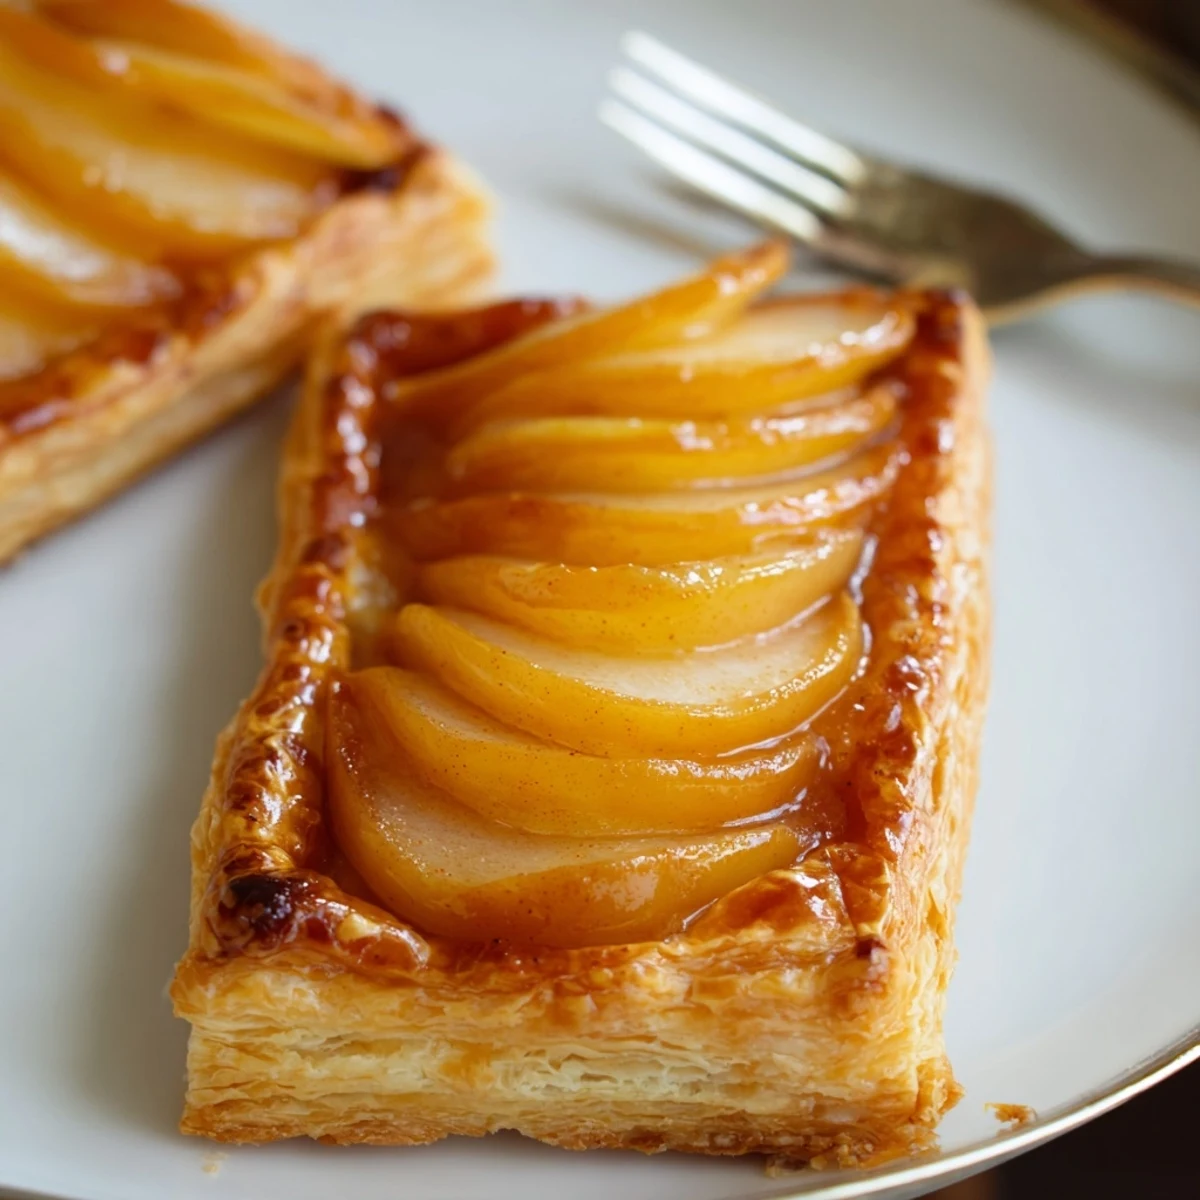
The mere scent of pears caramelizing in the oven always draws my curiosity, but it was the gentle crackle of puff pastry under my fork that made me stay. One rainy weekend, I decided to see what would happen if I wrapped ripe pears in those golden sheets instead of apples. As soon as the pastries emerged, their glossy, apricot-kissed tops caught the light, making them look like treasures. That first, perfectly flaky bite convinced me these belong in my regular dessert rotation.
I once made these for my sister after a long week, and before they’d even cooled our kitchen was filled with chatter over warm mugs of tea. She swears the glaze atop the pears made her forget every stress of her day for a moment. Sometimes, it's the small surprise of a homemade pastry that turns a regular afternoon into something special.
Ingredients
- Pears: Choose pears that yield slightly to a gentle squeeze—they soften nicely but keep their structure. Peeling and thinly slicing helps them cook evenly inside the pastry.
- Granulated sugar: It lightly sweetens the fruit and encourages gentle caramelization as they bake.
- Lemon juice: Brightens the pear flavor and prevents browning while prepping all the slices.
- Ground cinnamon: Just enough to coax warmth from the pears without overpowering their floral notes.
- Puff pastry sheet: Thaw it in the fridge for about 30 minutes and unfold gently to avoid tearing the layers.
- Egg, beaten: Brushing this along the pastry’s edge is my favorite trick for a bakery-worthy sheen.
- Apricot jam and water: Warming these into a glaze delivers a shiny, sticky finish that tastes as inviting as it looks.
- All-purpose flour (for dusting): Keeps the dough from sticking while rolling out those perfect rectangles.
Instructions
- Prep and preheat:
- Set your oven to 200°C 400°F and line a baking sheet with parchment, catching that fleeting moment when the kitchen is full of quiet promise.
- Pear filling magic:
- Toss the pear slices with sugar, lemon juice, and cinnamon—the sugary juices will glisten and scent the air with spice.
- Roll and cut pastry:
- On a lightly floured counter, gently roll out the puff pastry to smooth the seams, then slice into six even rectangles with a sharp knife.
- Assemble with care:
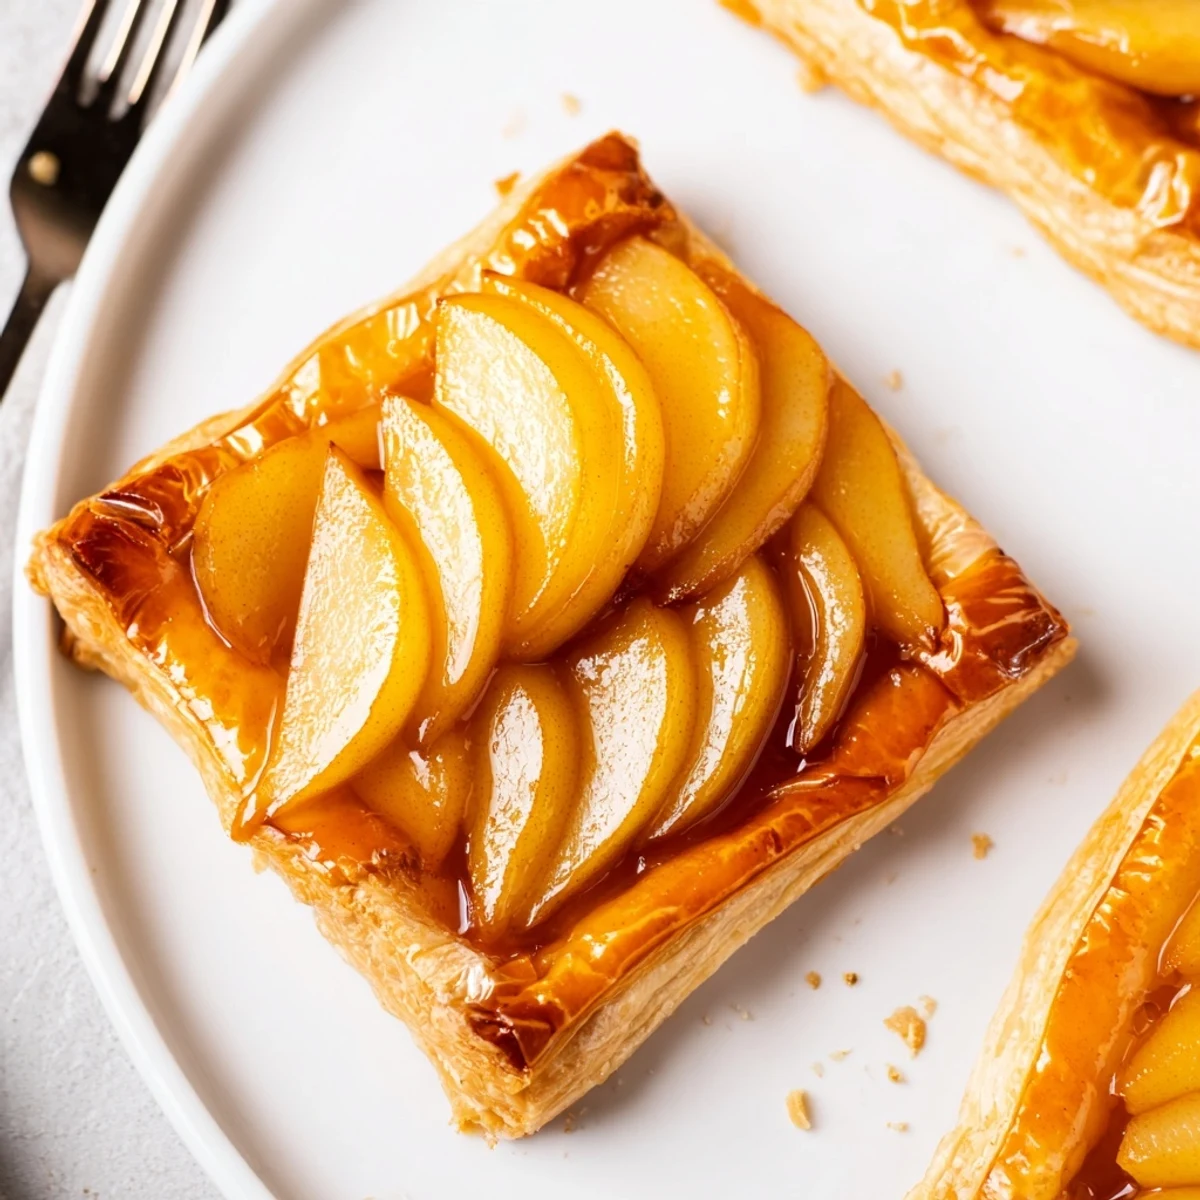
- Place a neat pile of pears in the center of each rectangle, leaving just enough border so you can fold the pastry up and cradle the fruit.
- Border and wash:
- Fold pastry edges just a bit over the pears, then paint the edges with beaten egg so every pocket bakes up crisp and golden.
- Bake to perfection:
- Transfer to the sheet and let them bake for 20 to 25 minutes; your kitchen will smell buttery and sweet as the pastry puffs up and browns.
- Make the glaze:
- While the pastries bake, melt apricot jam with water in a small saucepan until thin and shiny; strain it if you prefer a silky glaze.
- Finish and serve:
- A brush of glaze over the hot pears gives them a jewel-like finish. Let cool just enough that you don’t burn your fingers, then serve warm or at room temperature.
 Save
Save These little pear parcels first worked their magic at a book club when I needed something that looked impressive but wouldn’t distract from juicy plot twists. Halfway through our discussion, someone quietly reached for seconds, and I caught a wink across the table. That felt like a vote of confidence—sometimes food is its own conversation.
Choosing and Prepping Pears
Not every pear is created equal for baking—Bartlett and Bosc hold up best without going mushy. If you find the pears especially juicy, pat them dry just a bit before adding to the pastry to avoid sogginess. I’ve learned to taste a slice before sugaring so I can adjust for ripeness.
Creative Finishes for Extra Flair
Brushing on the apricot glaze adds shine, but a handful of chopped toasted nuts will bring welcome crunch. Sometimes I’ll swap in a drizzle of honey or maple syrup for a deeper glaze flavor. The real secret is a pinch of flaky salt just before serving—the contrast is delightful.
Serving and Storing Tips
These pastries are at their most irresistible still warm, but they keep surprisingly well under a loose foil tent at room temperature for a day. If you want to revive the flakiness, a few minutes in a low oven is all it takes. Avoid refrigerating, as cold air makes puff pastry limp.
- Use parchment paper to make cleanup effortless.
- Pair with vanilla ice cream for the ultimate dessert.
- Let pastries cool slightly before glazing for a gentle set.
 Save
Save If you have a few pears and a sheet of pastry, you’re only an oven away from something warm and welcoming. I hope these little pear puff pastries bring a spark of joy to your kitchen table too.
Recipe FAQs
- → How do I prevent soggy pastry?
-
Dry pear slices slightly after tossing with sugar and lemon, avoid overcrowding the pastry, and leave a small border to keep juices contained. Preheating the oven so pastry begins puffing immediately also helps maintain flakiness.
- → Can I use different fruit?
-
Yes. Firm fruits like apples, quince or firm peaches work well; adjust slicing and cooking time so the fruit becomes tender without overbaking the pastry.
- → What’s the purpose of the egg wash?
-
Brushing the pastry rim with beaten egg promotes a glossy, golden finish and enhances browning and color contrast between the pastry and fruit.
- → How should I store leftovers?
-
Keep cooled pastries in an airtight container at room temperature for up to 24 hours, or refrigerate up to 48 hours. Recrisp in a 180°C (350°F) oven for 5–8 minutes before serving.
- → How do I make a vegan version?
-
Use plant-based puff pastry and replace the egg wash with unsweetened soy or oat milk brushed on the edges; warm jam glaze remains suitable if it’s vegan.
- → Any tips for the apricot glaze?
-
Gently warm apricot jam with a tablespoon of water to loosen it, strain if needed for smoothness, and brush on while pastries are still warm to create a shiny finish that seals in moisture.